Arts and Crats, Uncategorized

Heart Shaped Sun Catchers

Babs has been in love with hearts lately. It is so close to Valentine’s day we thought these would look great hanging in the windows!

All you need are some left over sheets of tissues paper from Christmas and contact paper. We used red, pink, and white to go with Valentine’s Day. However, you can use any colors you would like.IMAG0855

First cut out the contact paper hearts and tape then down onto a table or flat surface with the sticky side facing up. Then take some of the tissue paper and either cut or tip it into tiny pieces.

Then just let you little one stick them on the contact paper.

When they are finished place another sheet of contact paper over the hearts, sticky sides together. Trim them up and hang them on your windows!

IMAG0952

Materials Needed

Contact paper

colored tissue paper


Arts and Crats, fine motor

Pinch and Pull Bracelets

Pinch and Pull Bracelets are a great way to work on those fine motor skills, as well as make some great dress up jewelry! All you need are pipe cleaners and beads. Babs is wears her bracelets all the time. The first thing you have to do is make a loop on one end of the pipe cleaner. This will keep the beads from falling off and give you an easy way to size it later. After that WP_20151025_18_35_23_Proyour little one is reading to start threading beads. I showed Babs how to thread the bead onto the pipe cleaner. Now, the tricky part for us was making sure the bead didn’t just fall right off. This is where the pinch and pull part comes in. After they put the bead onto the pipe cleaner have them use their thumb and index finger to pinch the end of the pipe cleaner, then show them how to use their other hand to pull the bead down….pinch and pull! This became easier and easier the more we threaded beads and eventually Babs only needed the verbal reminder, “pinch and pull”.

WP_20151025_18_23_26_Pro WP_20151025_18_21_33_Pro WP_20151025_18_21_26_Pro

After they have finished threading the beads you will need to close up the bracelet. To do this bring the loop and opposite end together. Thread the straight end through the loop. Pull as tight as you need for it to be the correct size. Once you have the correct size wrap the extra pipe cleaner around the loop to close it. Make sure to tuck the pointed ends under to prevent the kids from getting scratched.

WP_20151025_18_41_29_Pro WP_20151025_18_42_36_Pro WP_20151025_18_41_41_Pro

Hope you enjoy them as much as we did!WP_20151025_18_25_08_Pro

Materials Needed

pipe cleaners

beads

Adult supervision is required fort his activity because the beads are a choking hazard to little ones.

Arts and Crats

Toilet Paper Tube Mummies

Alright, let’s bust out those toilet paper tubes I told you to save last week and make some Toilet Paper Tube Mummies! This was a very simple and fun activity. Babs is only two so this was more about the process than the product. FiIMAG0016
ne motor skills it takes to squeeze the glue, the sensory experience of glue and cotton ball fuzz stuck to your fingers, etc. So don’t be to upset if they don’t turn out perfect. Plus mummies are supposed to look like they are falling apart anyway! The only items you will need for this project are cotton balls, googly eyes, toilet paper tubes, a cookie sheet (or as we call it our art tray), and glue.

The next step is important if you really want it to look like a mummy. Babs needed help with this one. You need to unravel each cotton ball. I do this by pinching the side and then having Babs pinch the middle of IMAG0025the cotton ball and pull. The result will be a long strand of cotton. If you let you littles ones just go for it you will end up with fuzzy mummies and that’s okay. Like I said its more about the process than the product.

After unraveling all of the cotton balls, have the kiddos squeeze some glue onto the cookie sheet. They should then take the toilet paper tube and roll it the glue until the surface is covered. Last the can take the long strands of cotton balls and wrap them around the tube. Add the eyes and you are finished!

IMAG0024IMAG0032IMAG0028IMAG0039

Then comes the clean up…..as you can see Babs is thrilled. 😉  IMAG0036

Materials Needed

Toilet paper tubes

cotton balls

glue

googly eyes

art tray


Arts and Crats

Water Bottle Ghosts

This art project was so simple and Babs ended up loving it so much more than I though she would. All you need for water bottle ghosts is an empty water or pop bottle with the label peeled off, a bag of cotton balls, and some black construction paper (googly eyes are optional).WP_20151019_11_33_16_Pro

I gave Babs the water bottle and dumped out the cotton balls and let her go to town. I did one as well so she could follow my example. All she had to do was fill the water bottle will the cotton balls.

WP_20151019_11_40_18_ProWP_20151019_11_40_03_Pro

This project was a simple way to slip in some fine motor work. 🙂 I cut out construction paper ovals for the eyes and mouth and we attached them with masking tape. We also decided to add some googly eyes to some of the ghosts but I actually think they look better without. Great to add to your end tables for Halloween decorations! Babs loves seeing all her art work displayed.

Materials Needed

Water or pop bottle with label peeled offWP_20151019_11_55_18_Pro

Bag of cotton balls

Black construction paper

Googly eyes (optional)

Arts and Crats

Leaf Man Art Project

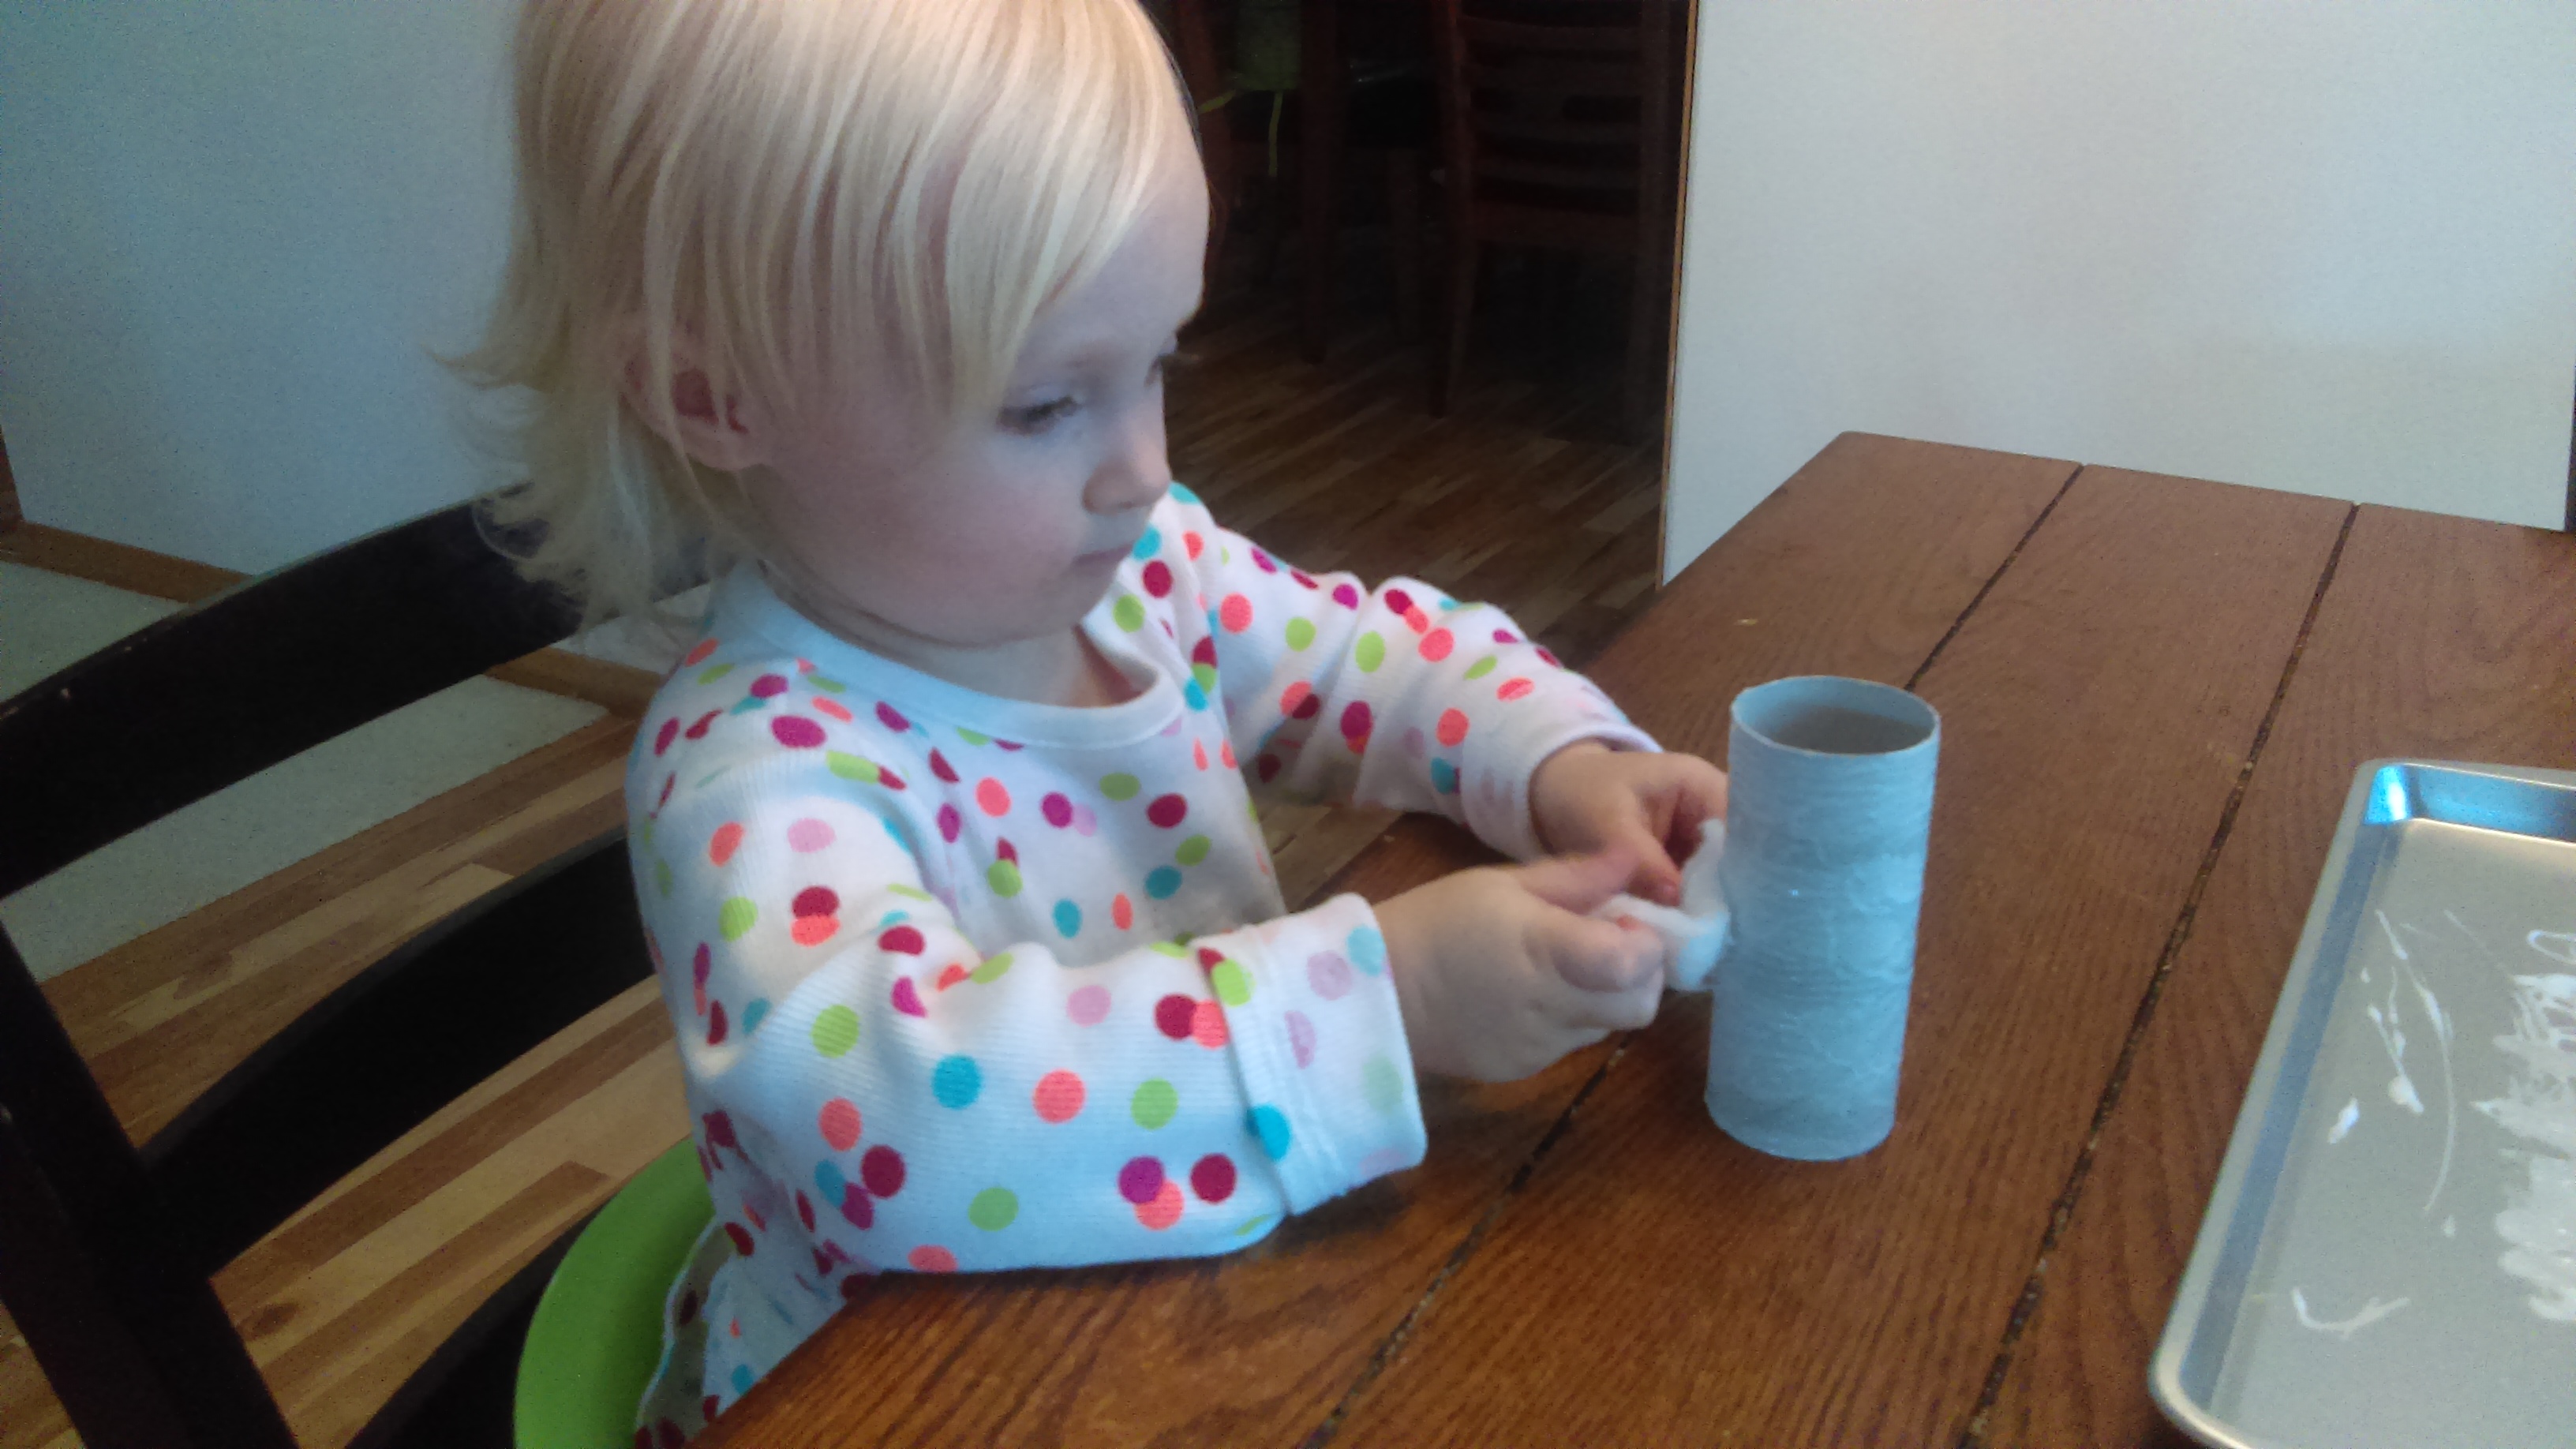
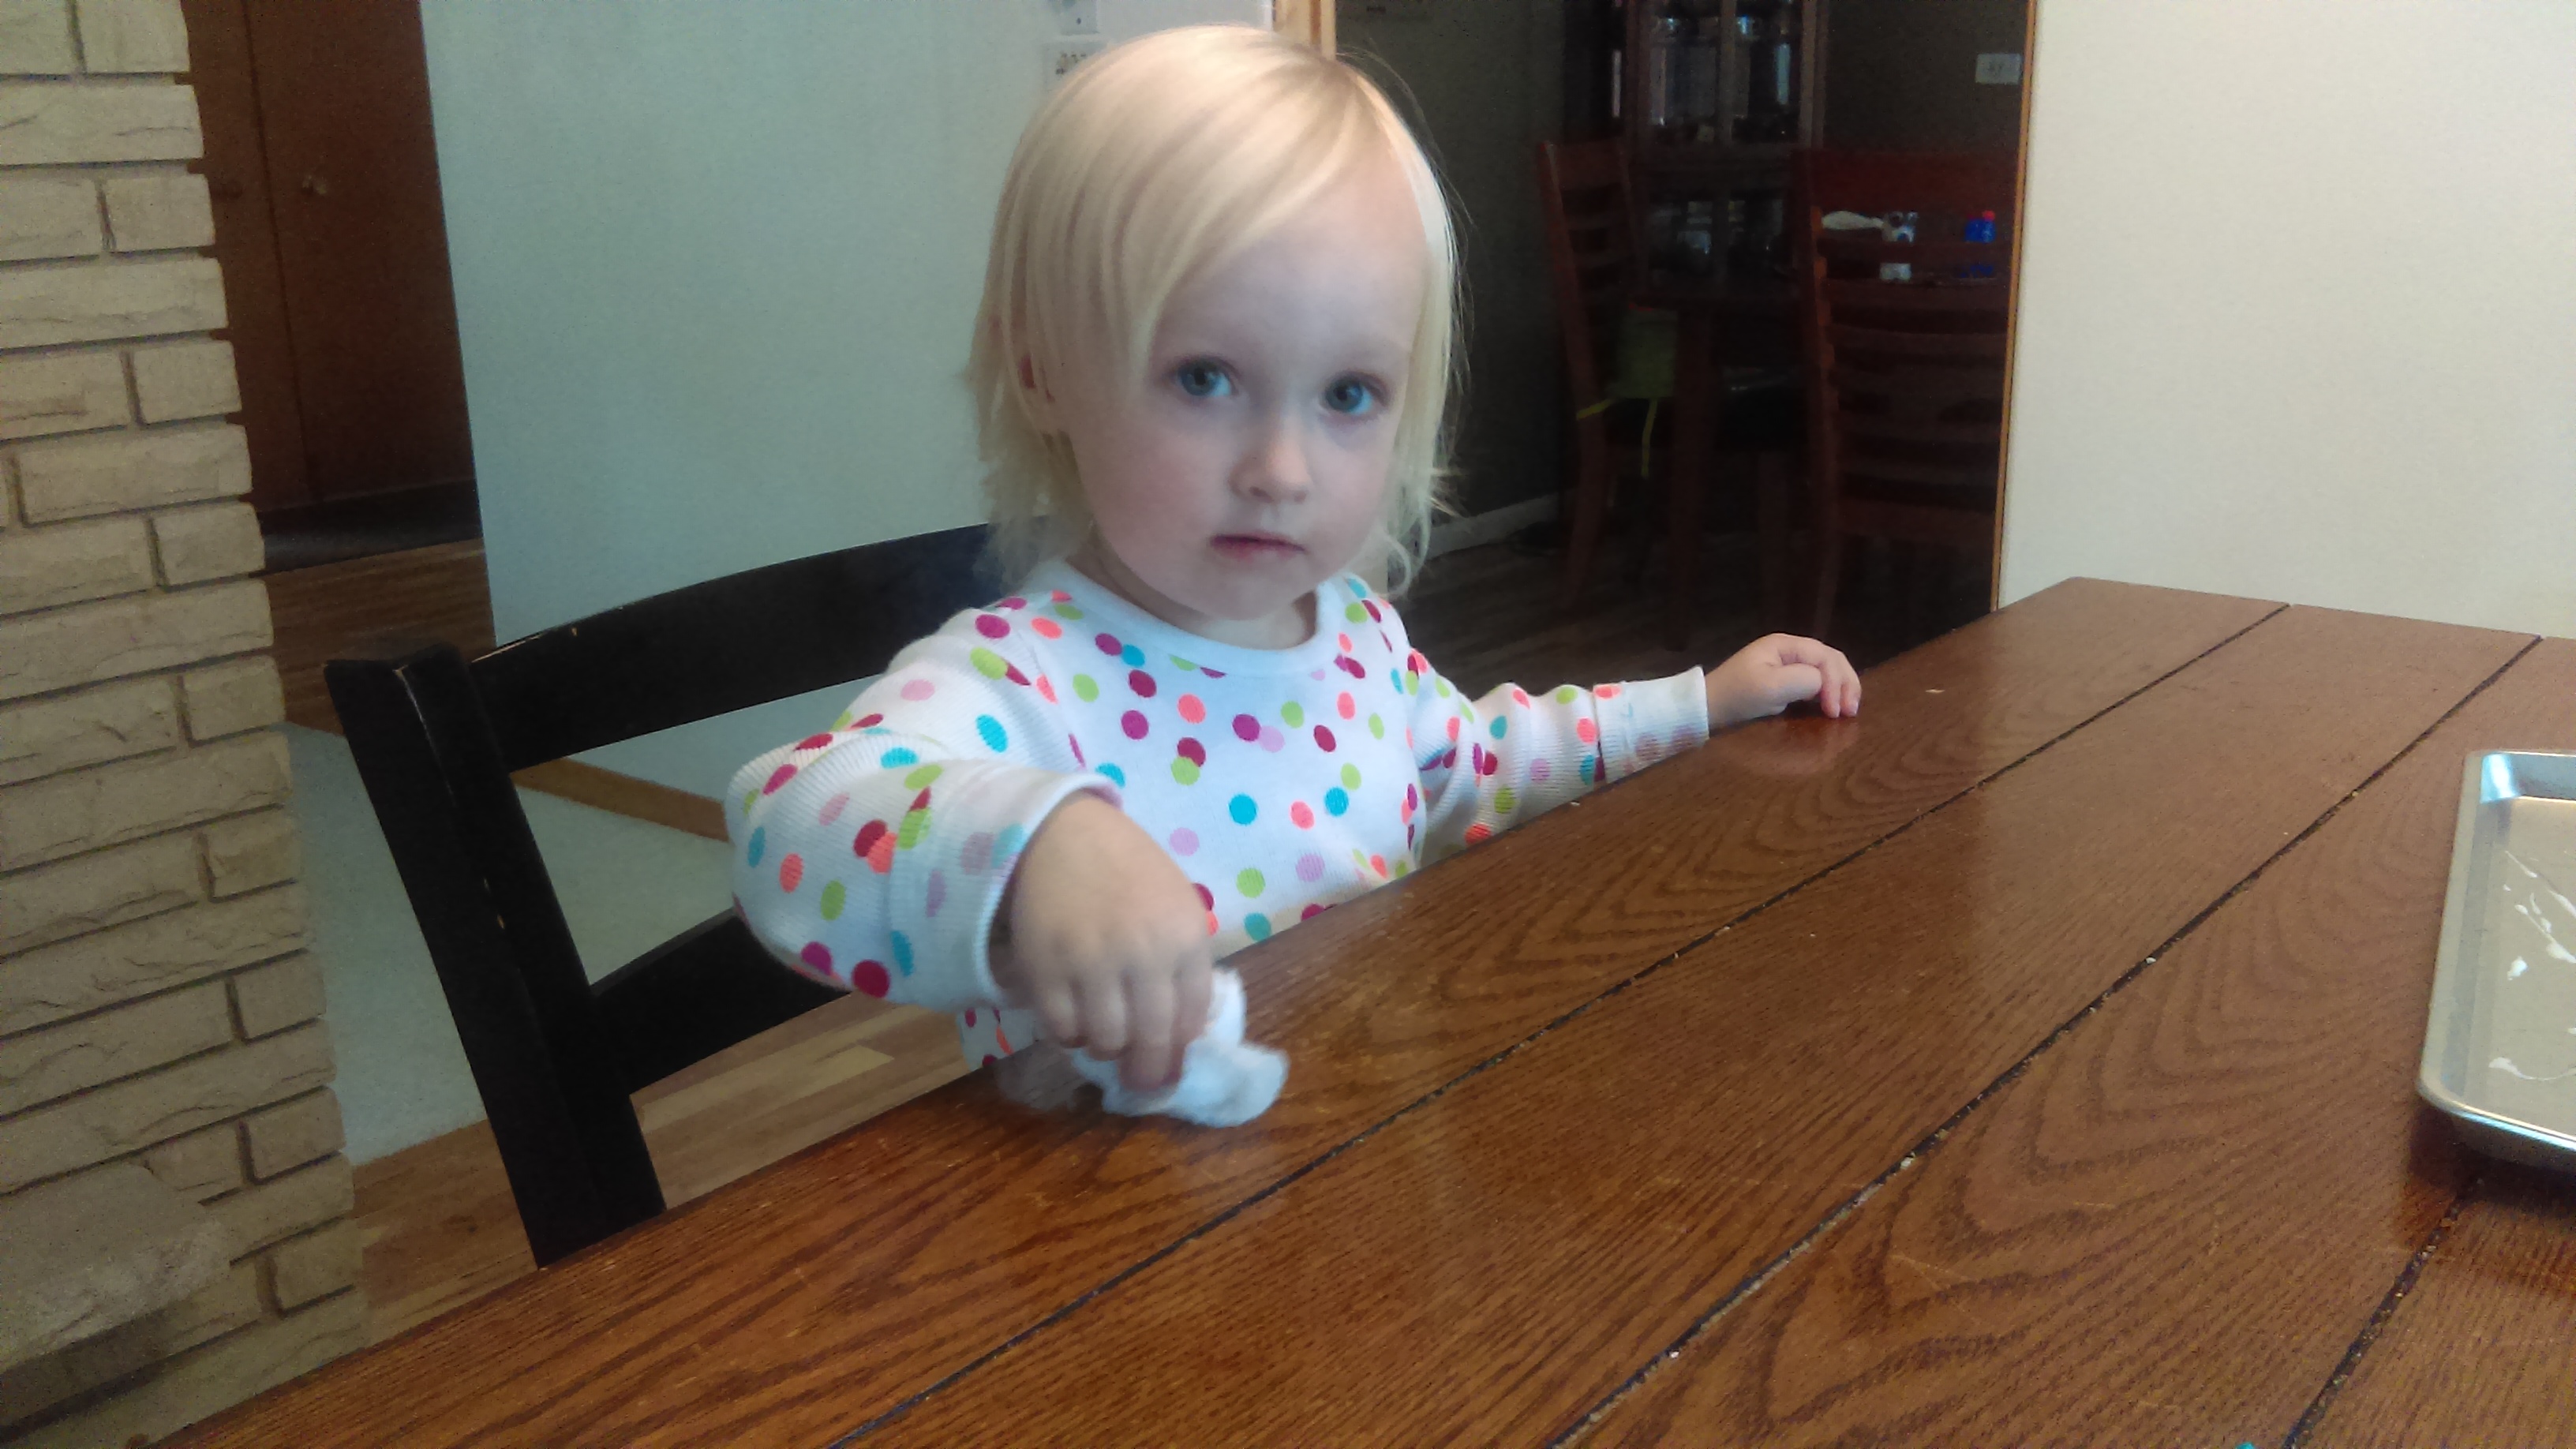
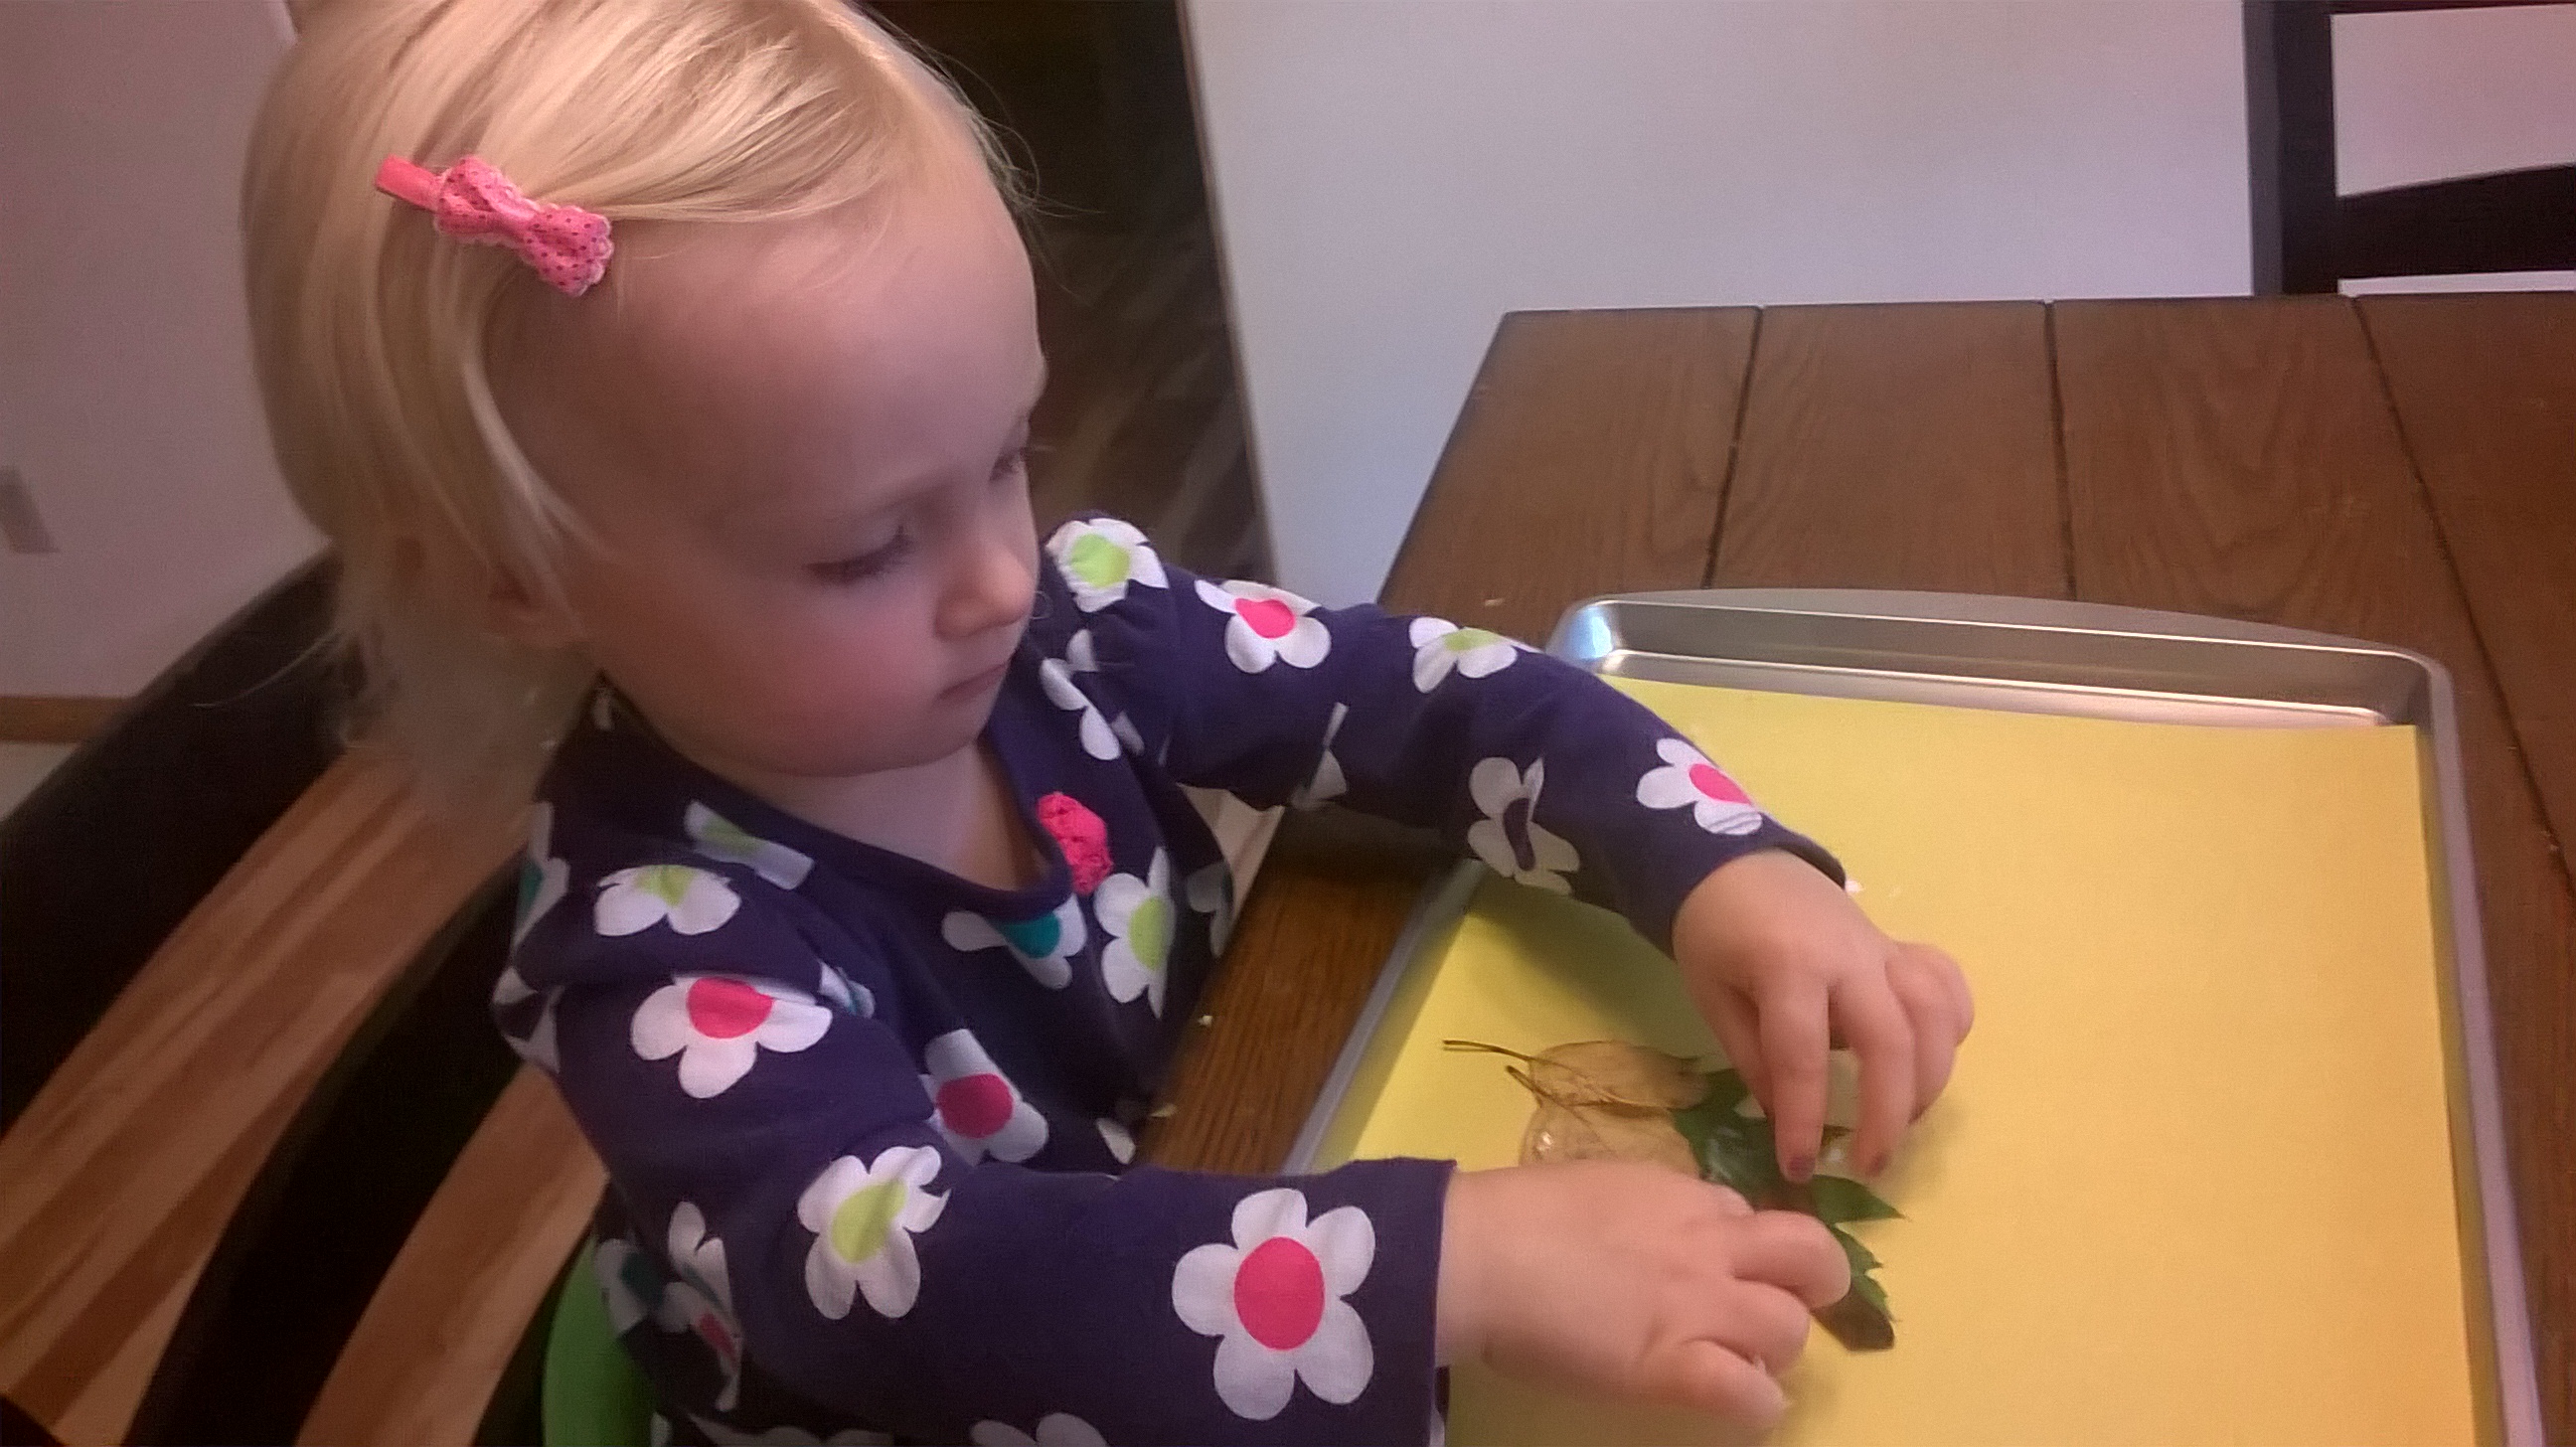
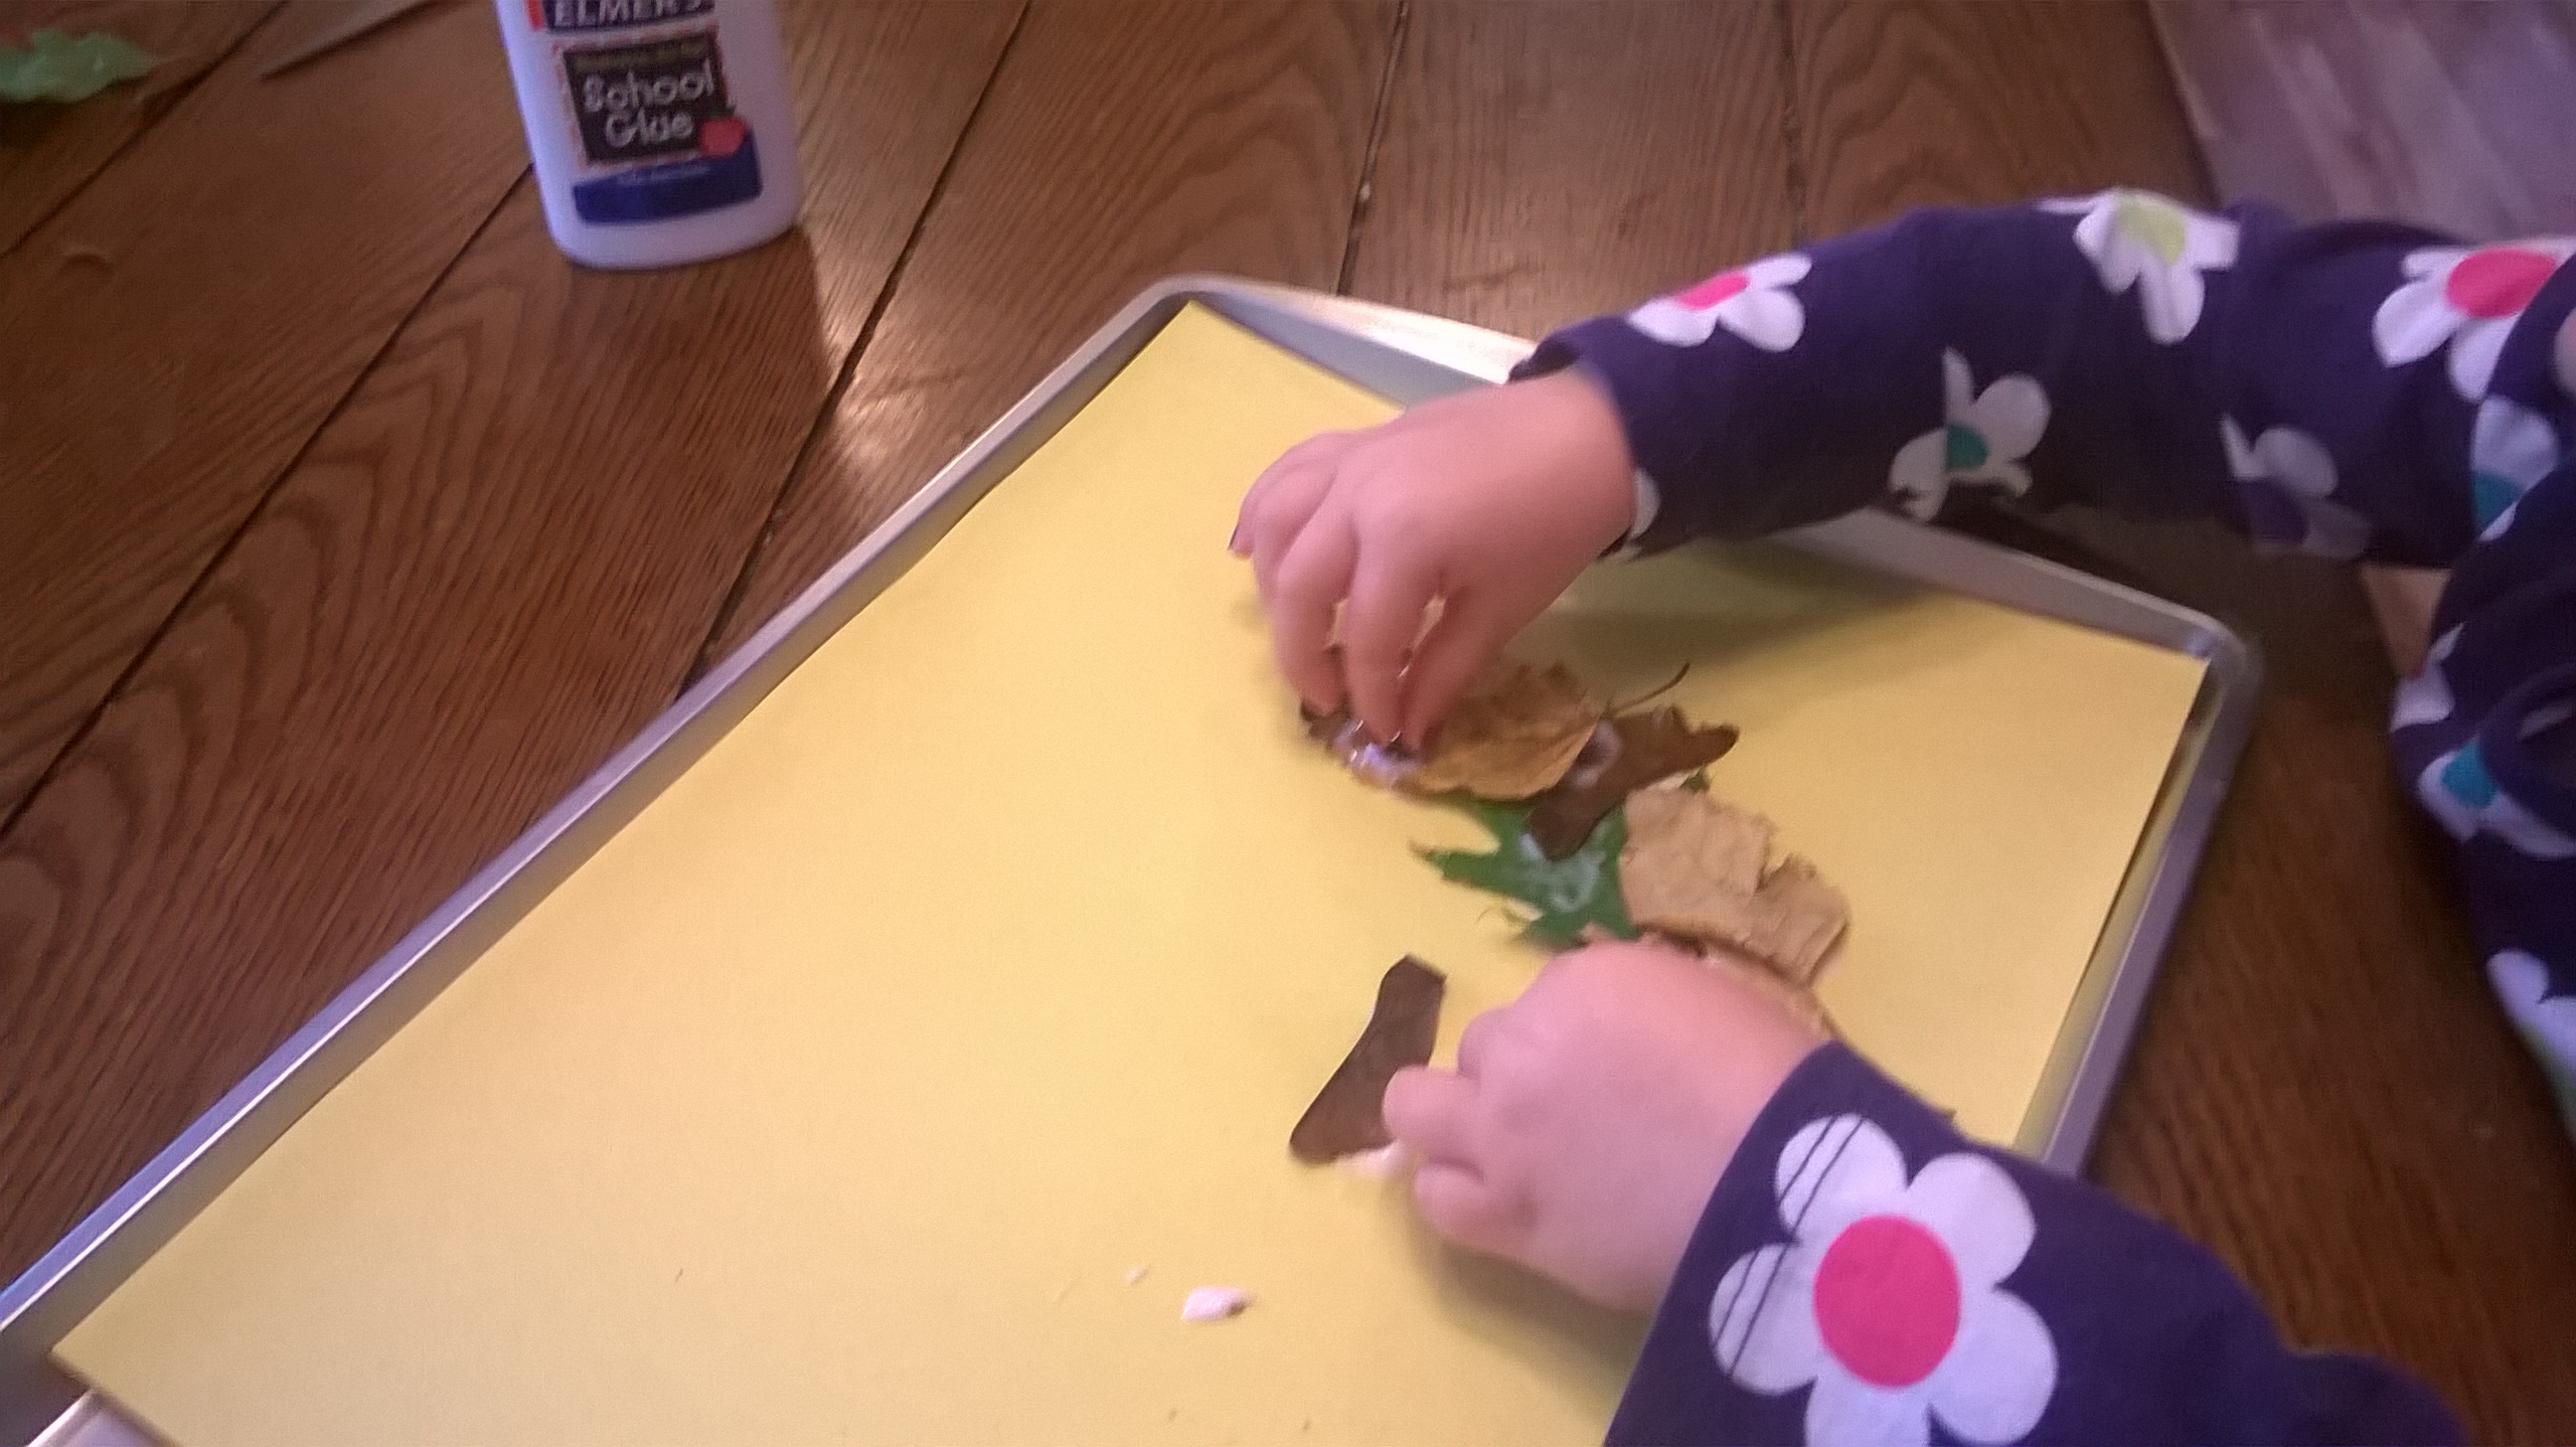
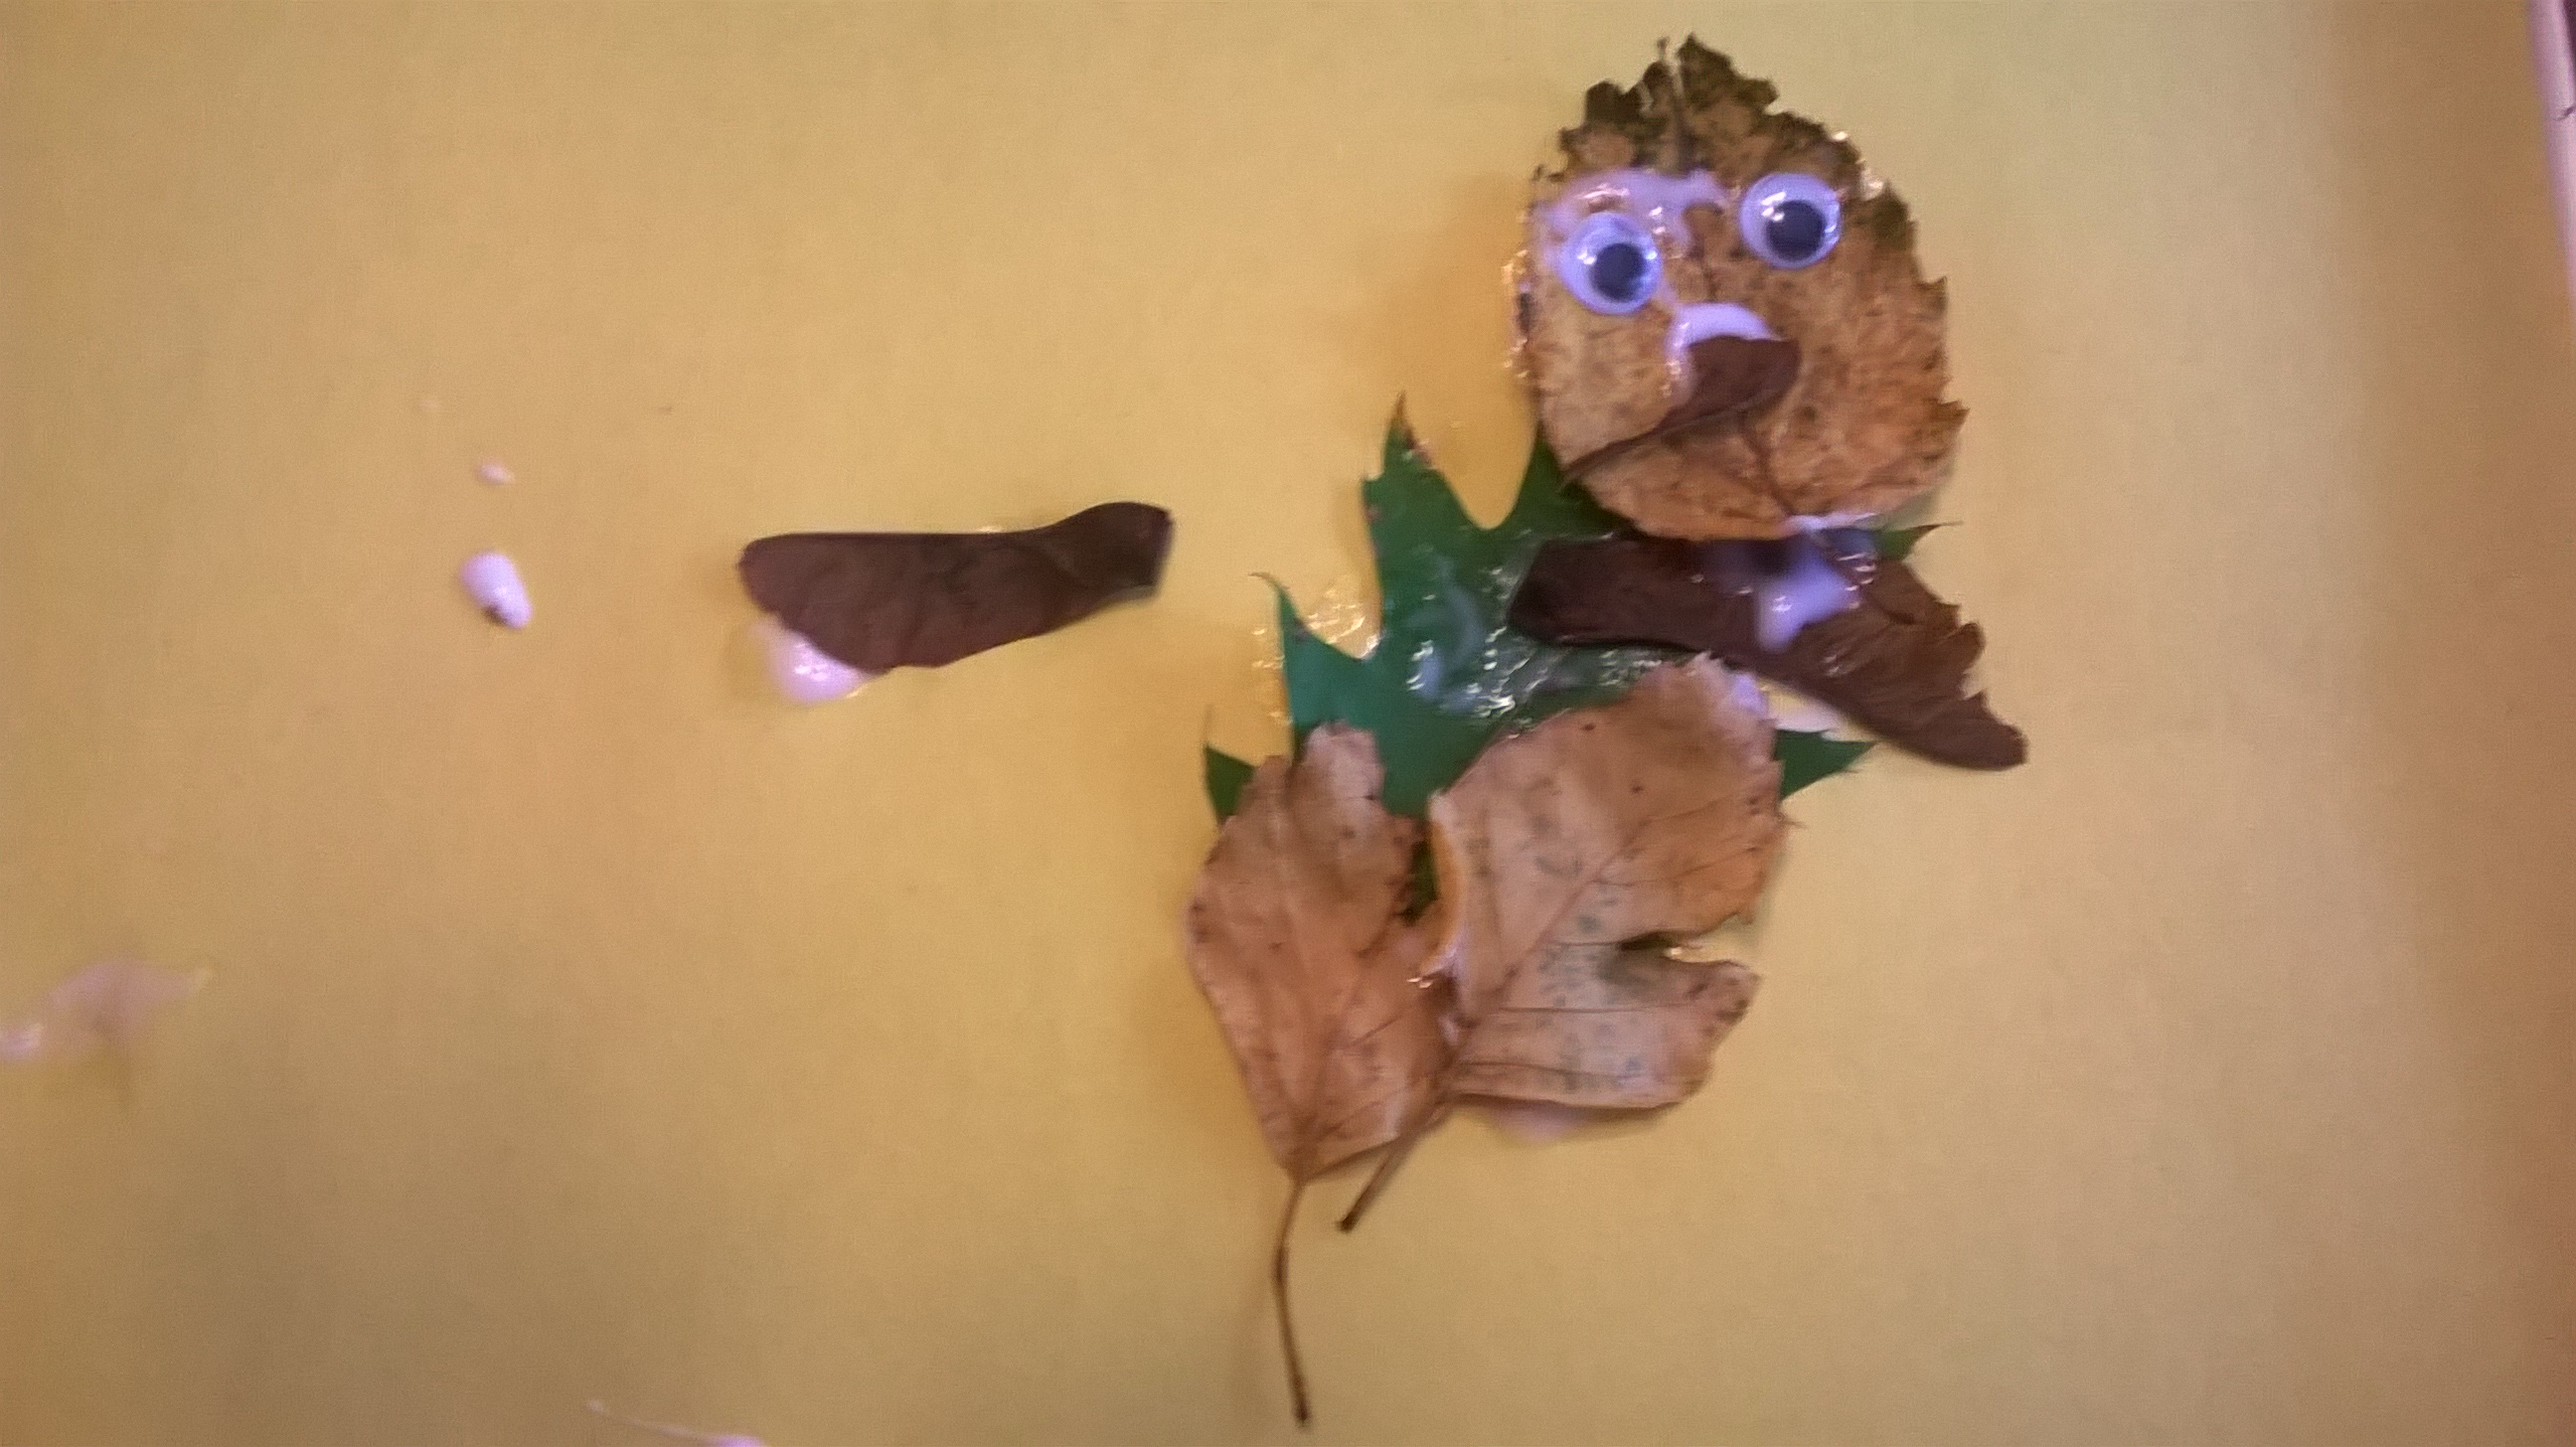
Let’s put those leave we collected to good use! We used our leaf collection from a couple of week ago and created our own Leaf Man based on the book. This was a great way to talk about placement of body parts. I don’t know about you, but when Babs and I are drawing pictures, her people often have arms floating randomly off to the side or legs where arms should be….lol! This project gave us some different materials to work with and held her attention really well.

WP_20151014_09_51_16_Pro~WP_20151014_09_58_33_Pro WP_20151014_09_53_56_Pro

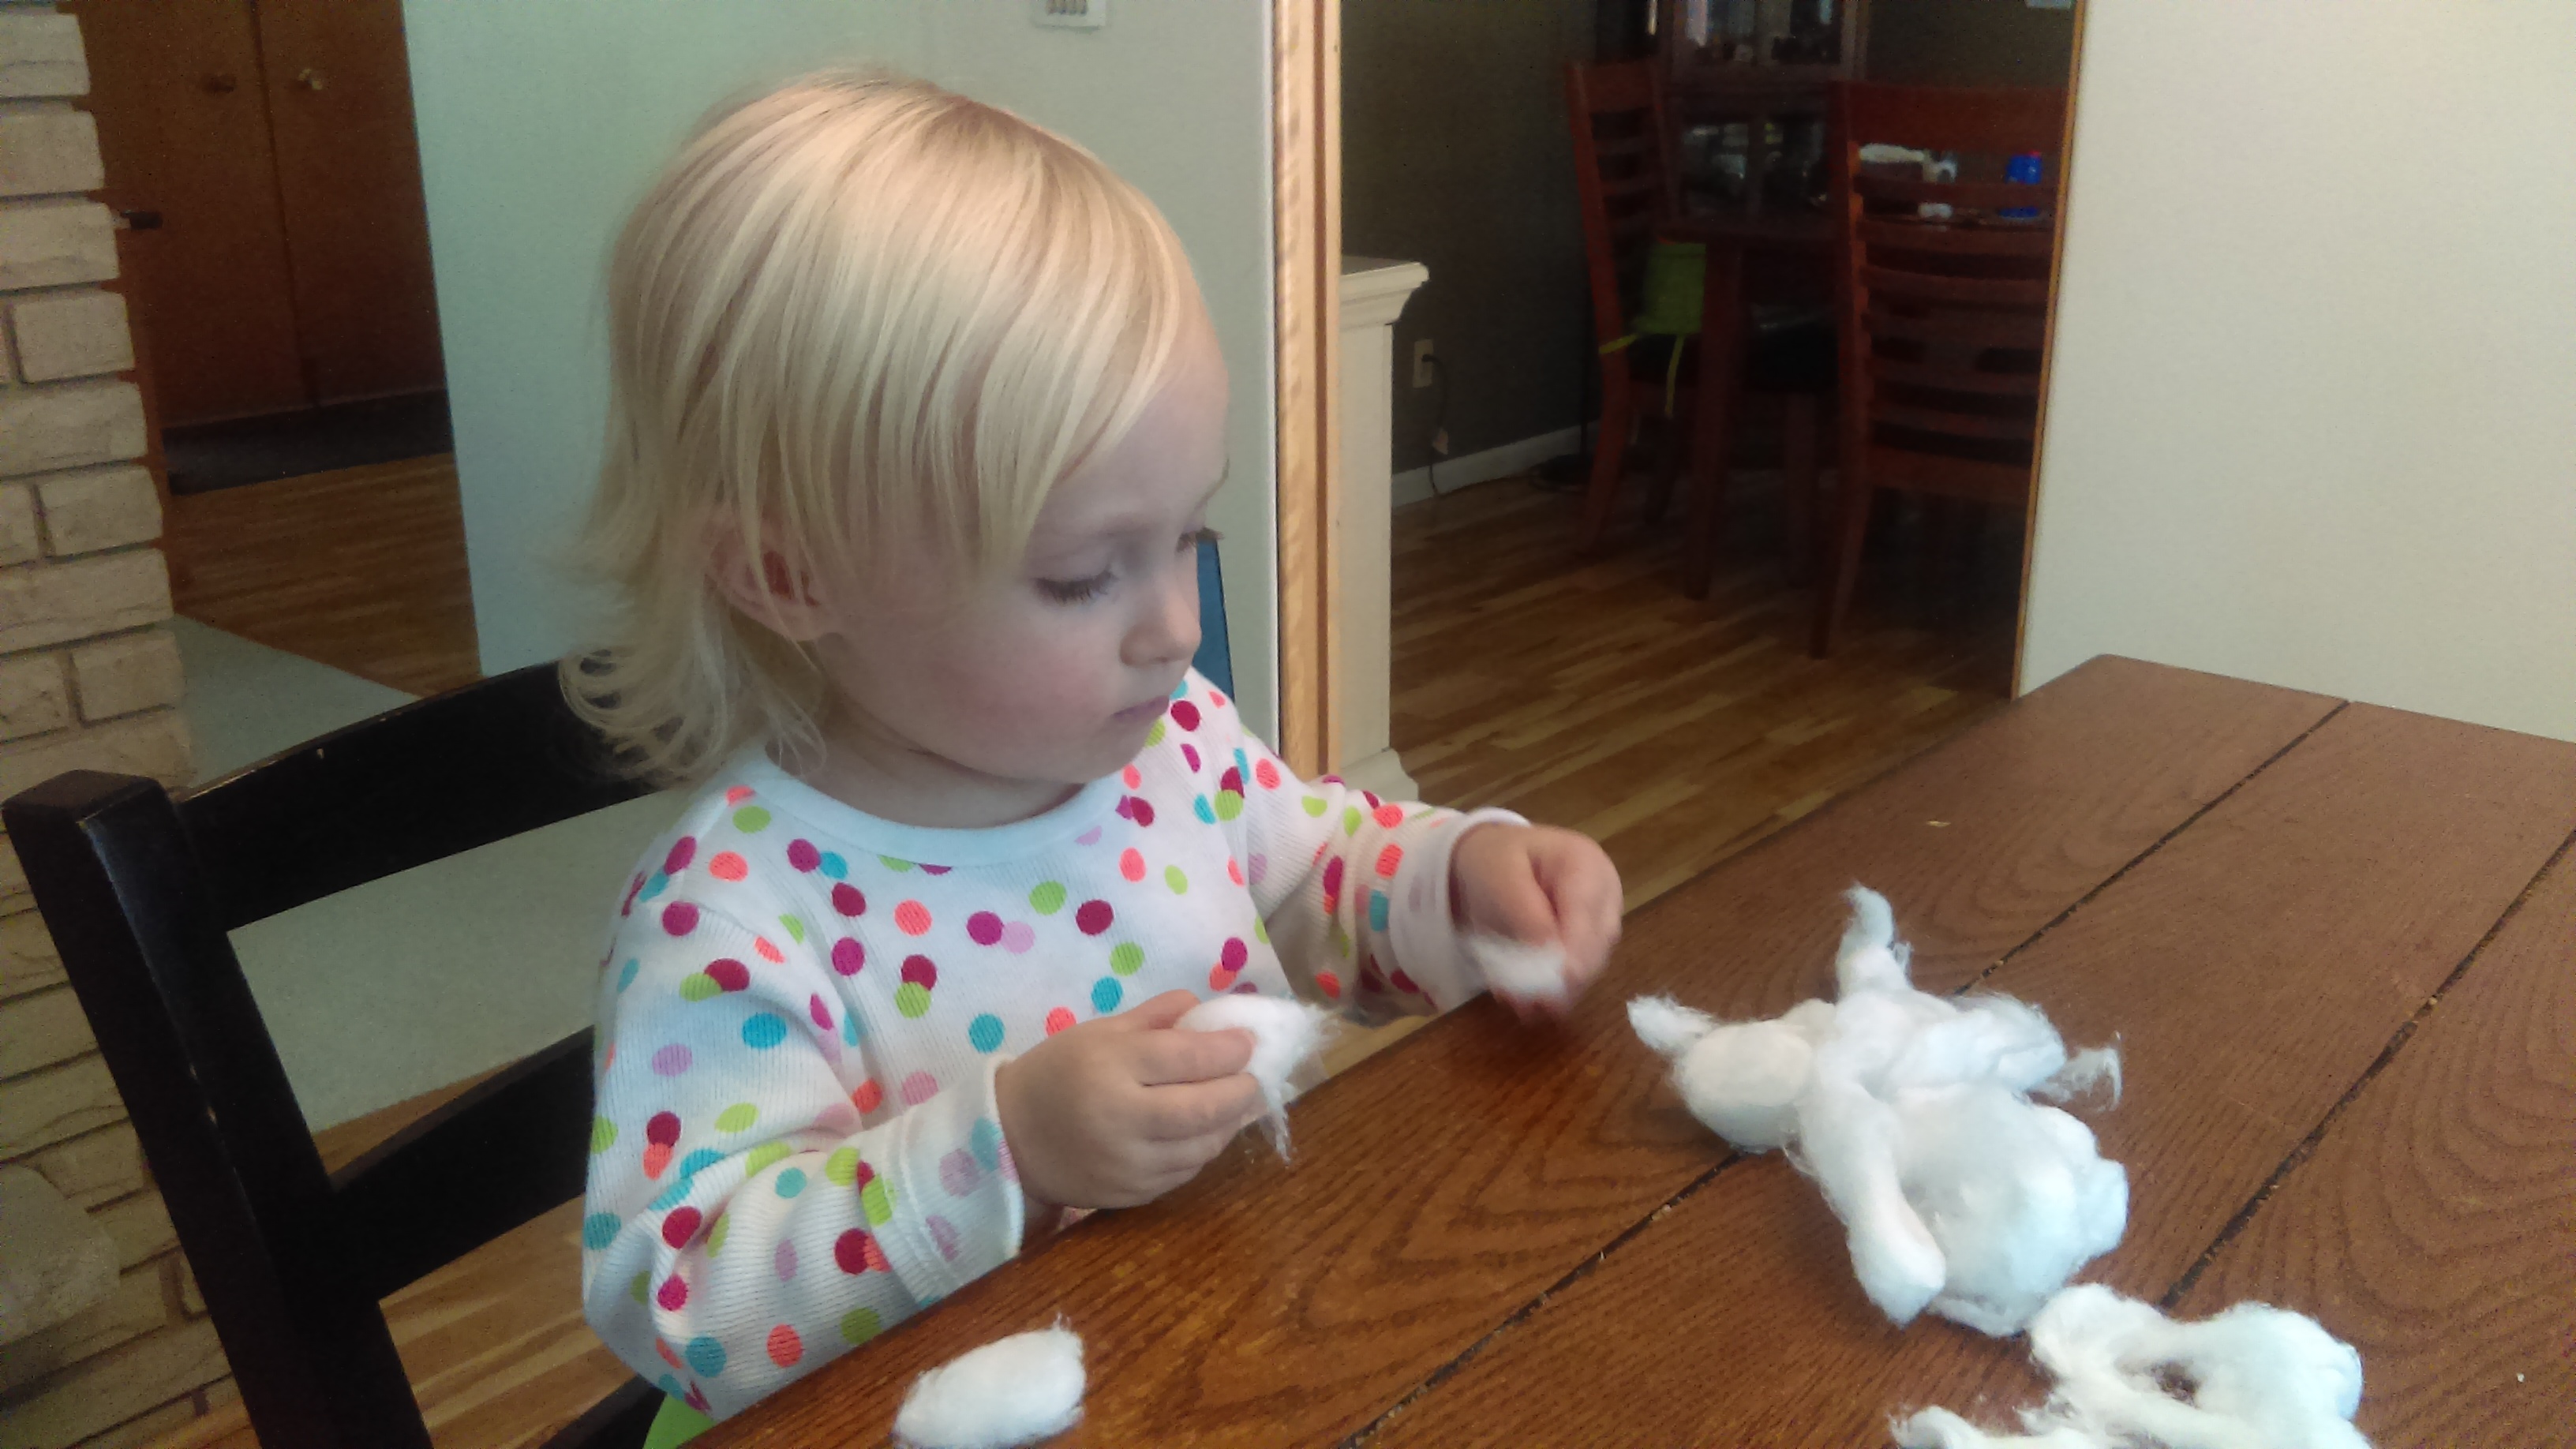
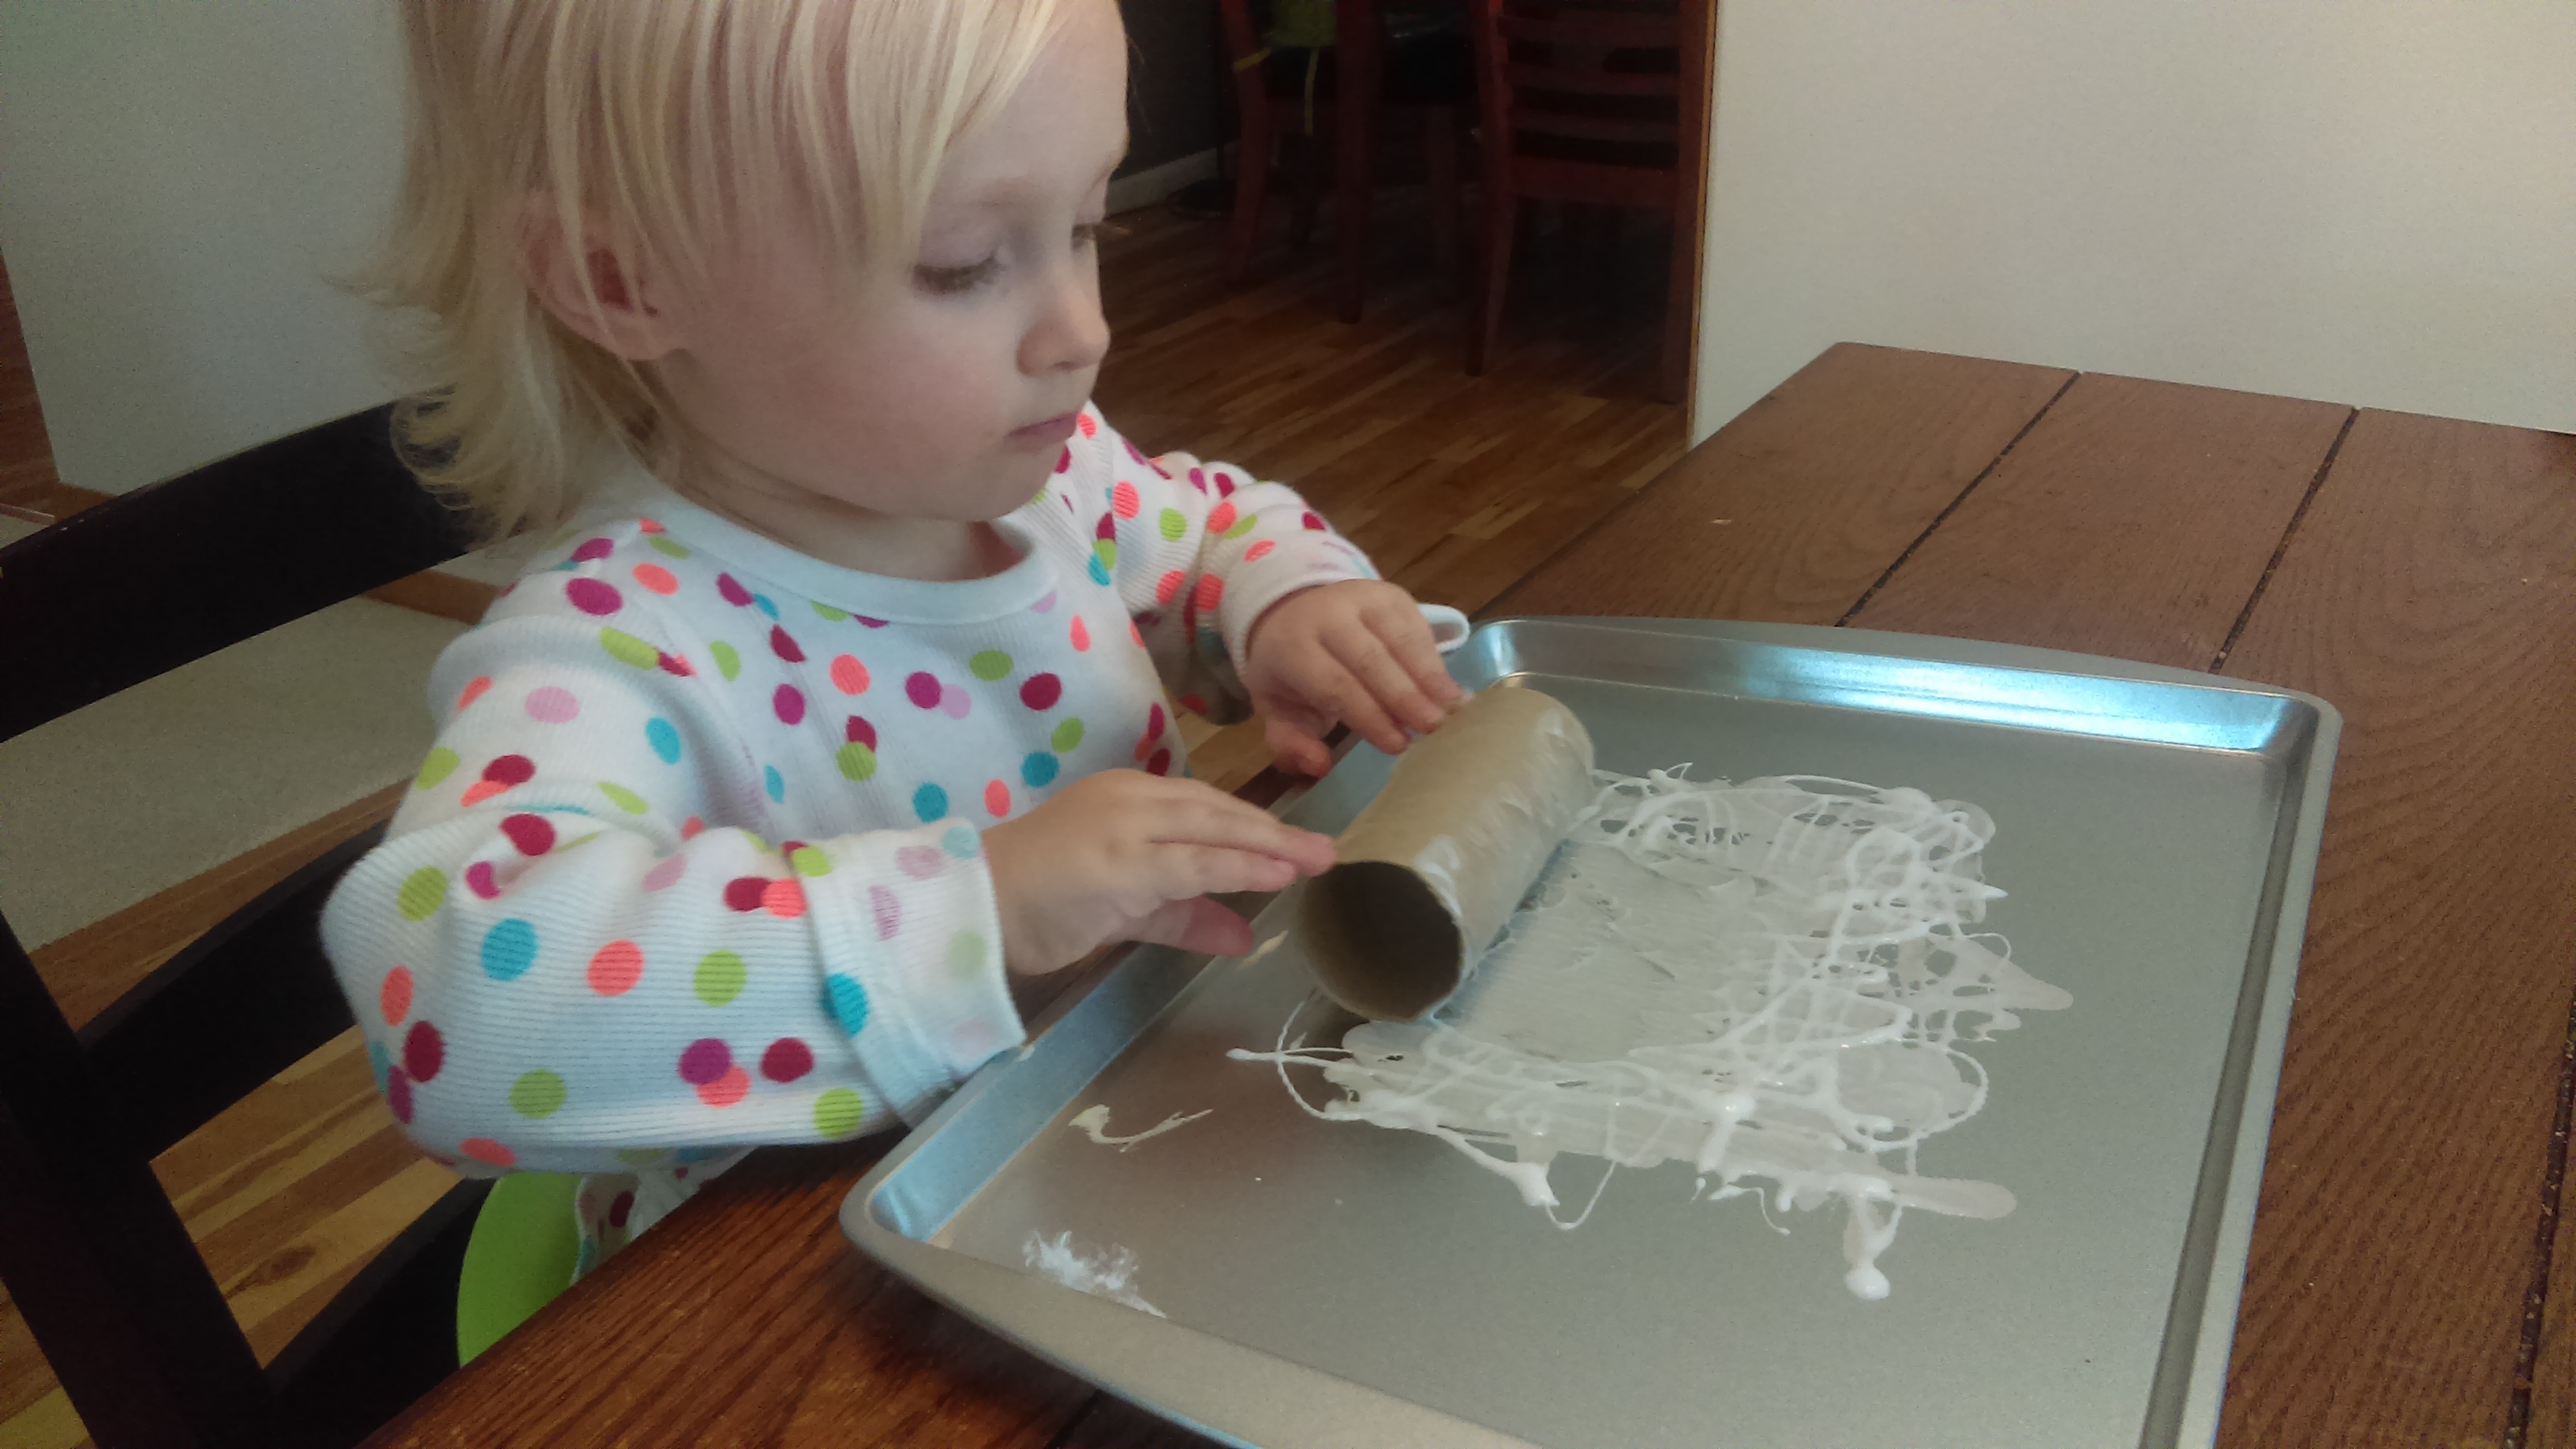
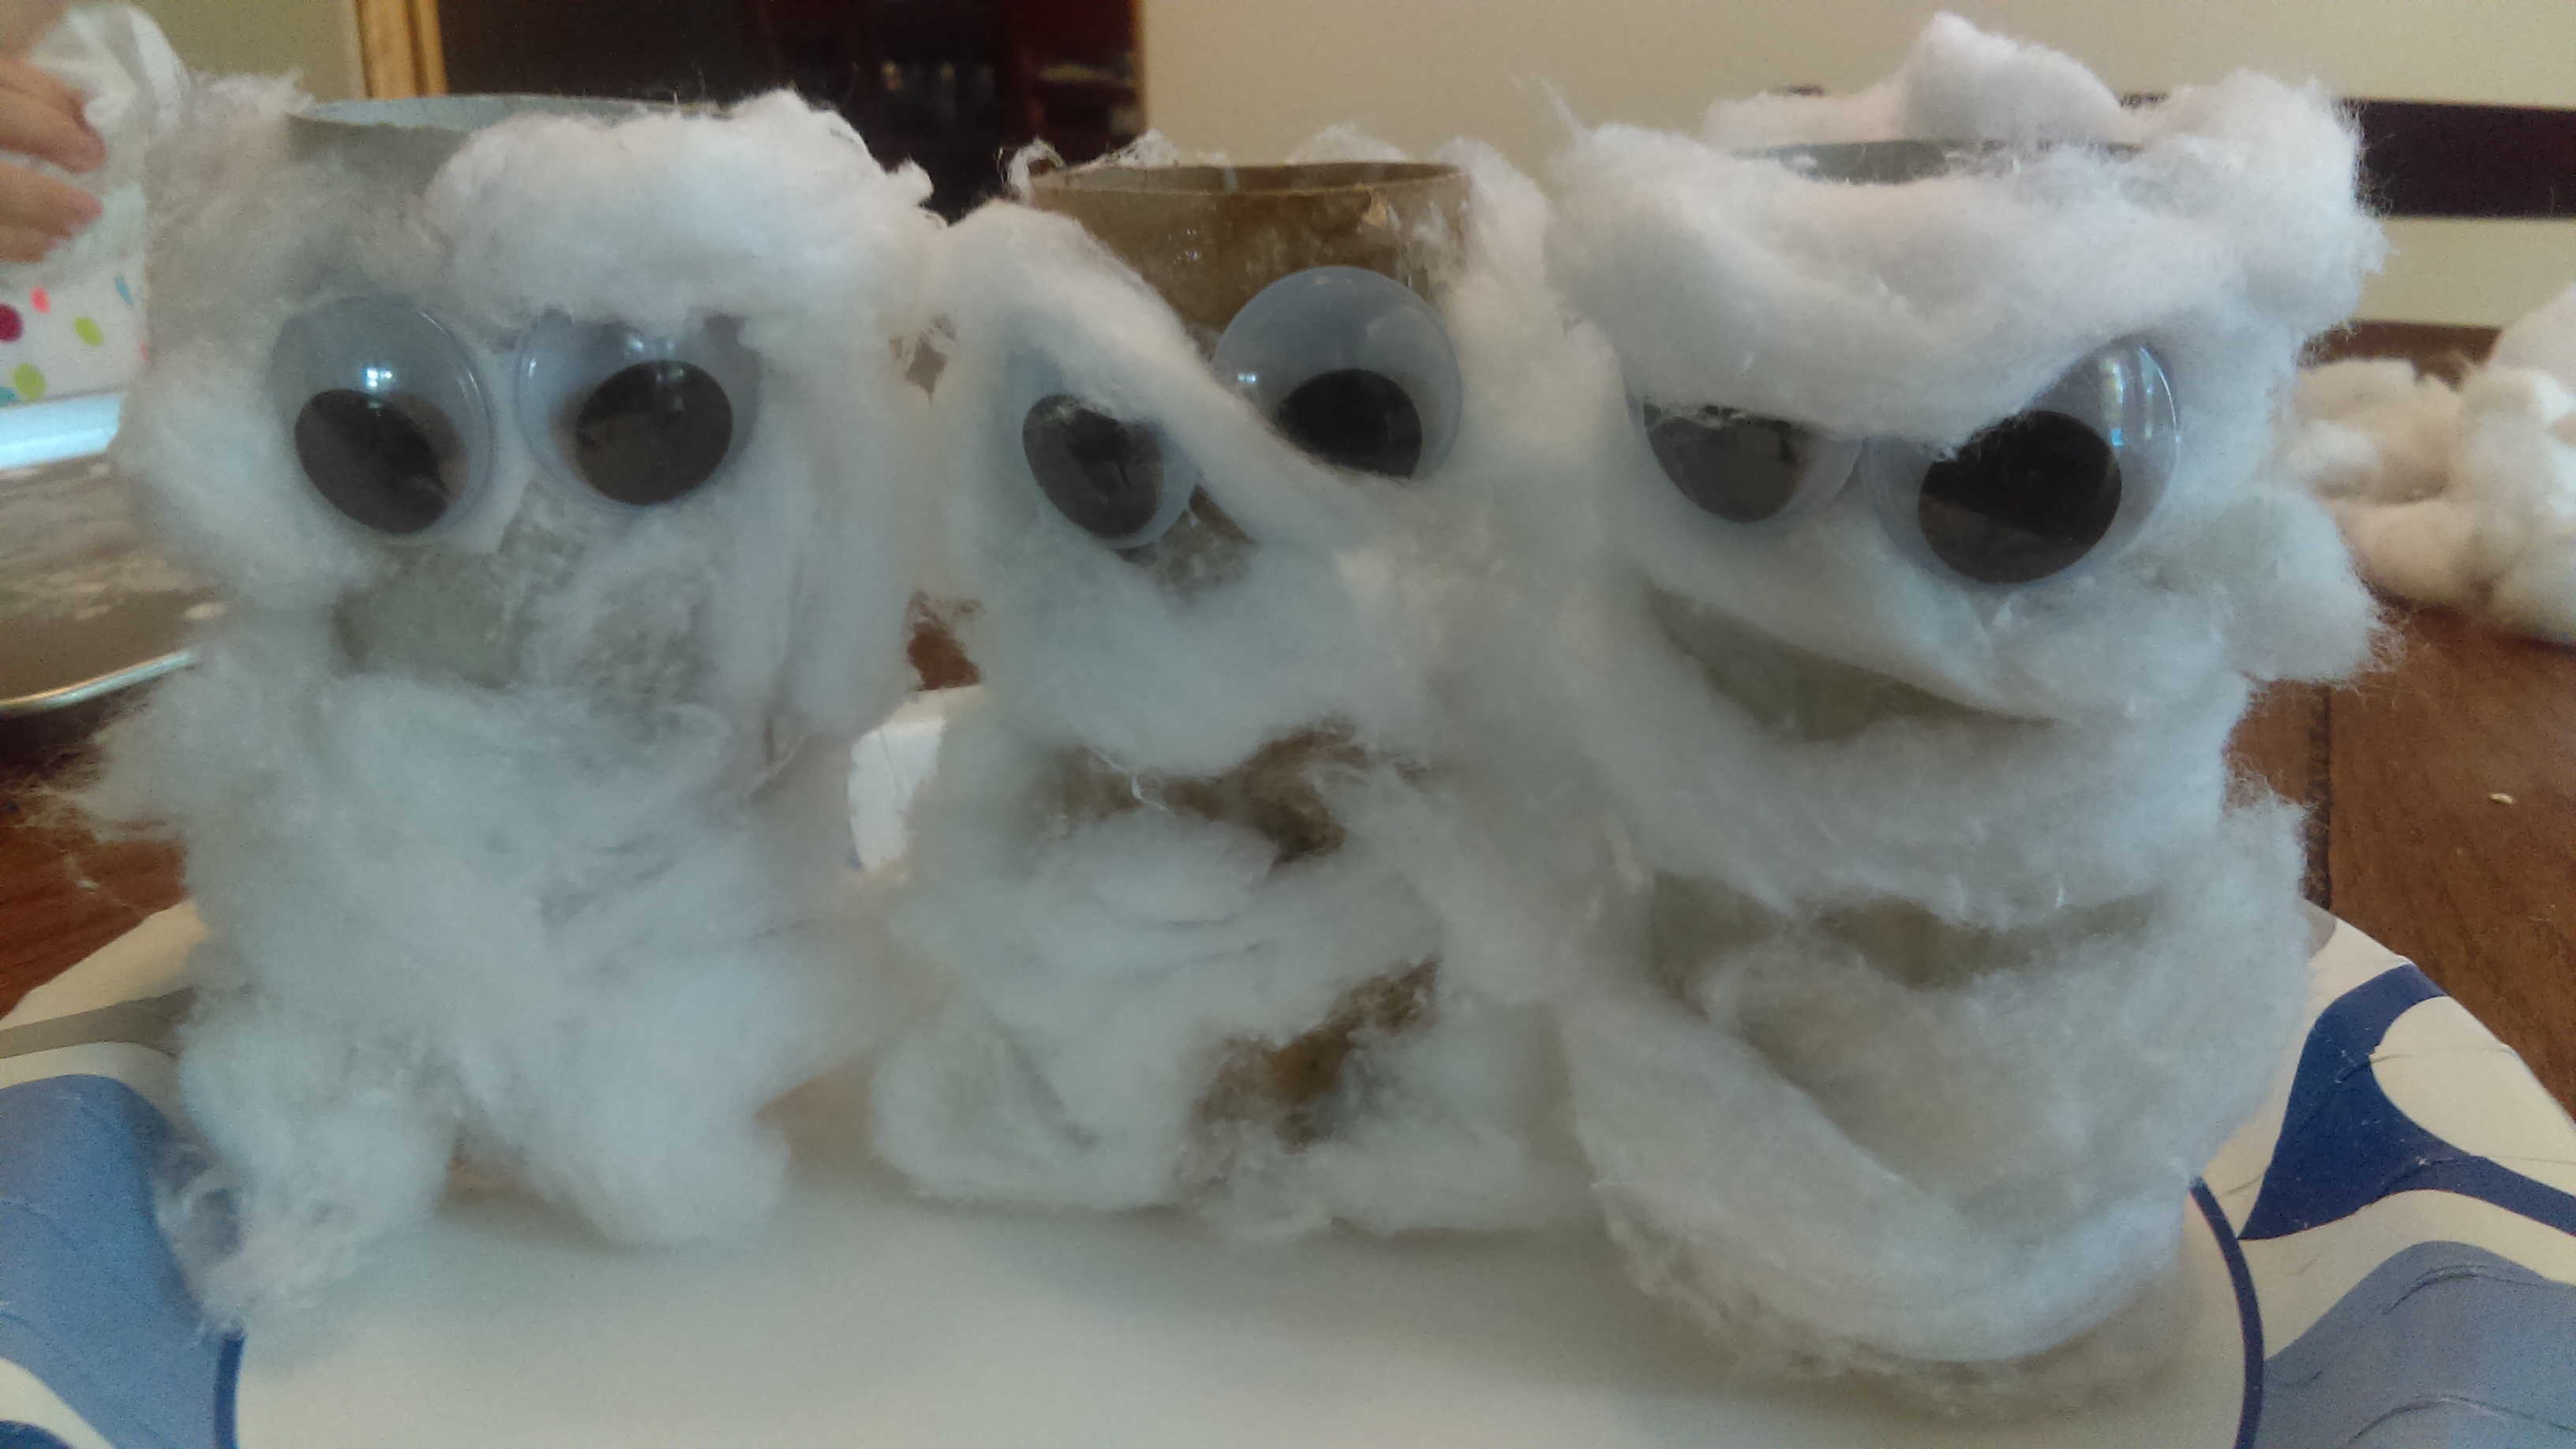
We did have to collect a few new leaves so we could have some different colors in there. Our previously collected leaves had already turned brown. I first made an example so she could see what we were going to make. I also kept the book close by so she could look at the picture. The example is pictured to the right. After that we worked on one together. During this time I encourage her to be as independent as possible. After we have made one together, I give her the materials to make one on her own. I give her some verbal prompts like, “remember where the arms go.” and I may help her squeeze the glue if she needs it. The one we did together and the one she did on her own are pictured below. I will let you guess which one she did on her own (hint: it still has a floating arm 🙂 )

WP_20151014_09_58_55_Pro

WP_20151014_09_56_34_Pro

Side note: If you are a teacher in lower elementary or just have an older child you would like to do some activities at home with, Scholastic has some great interactive lessons on Venn Diagrams to go along with the Leaf Man book! Click the link below!

Scholastic Lesson Plan: Leaf Man
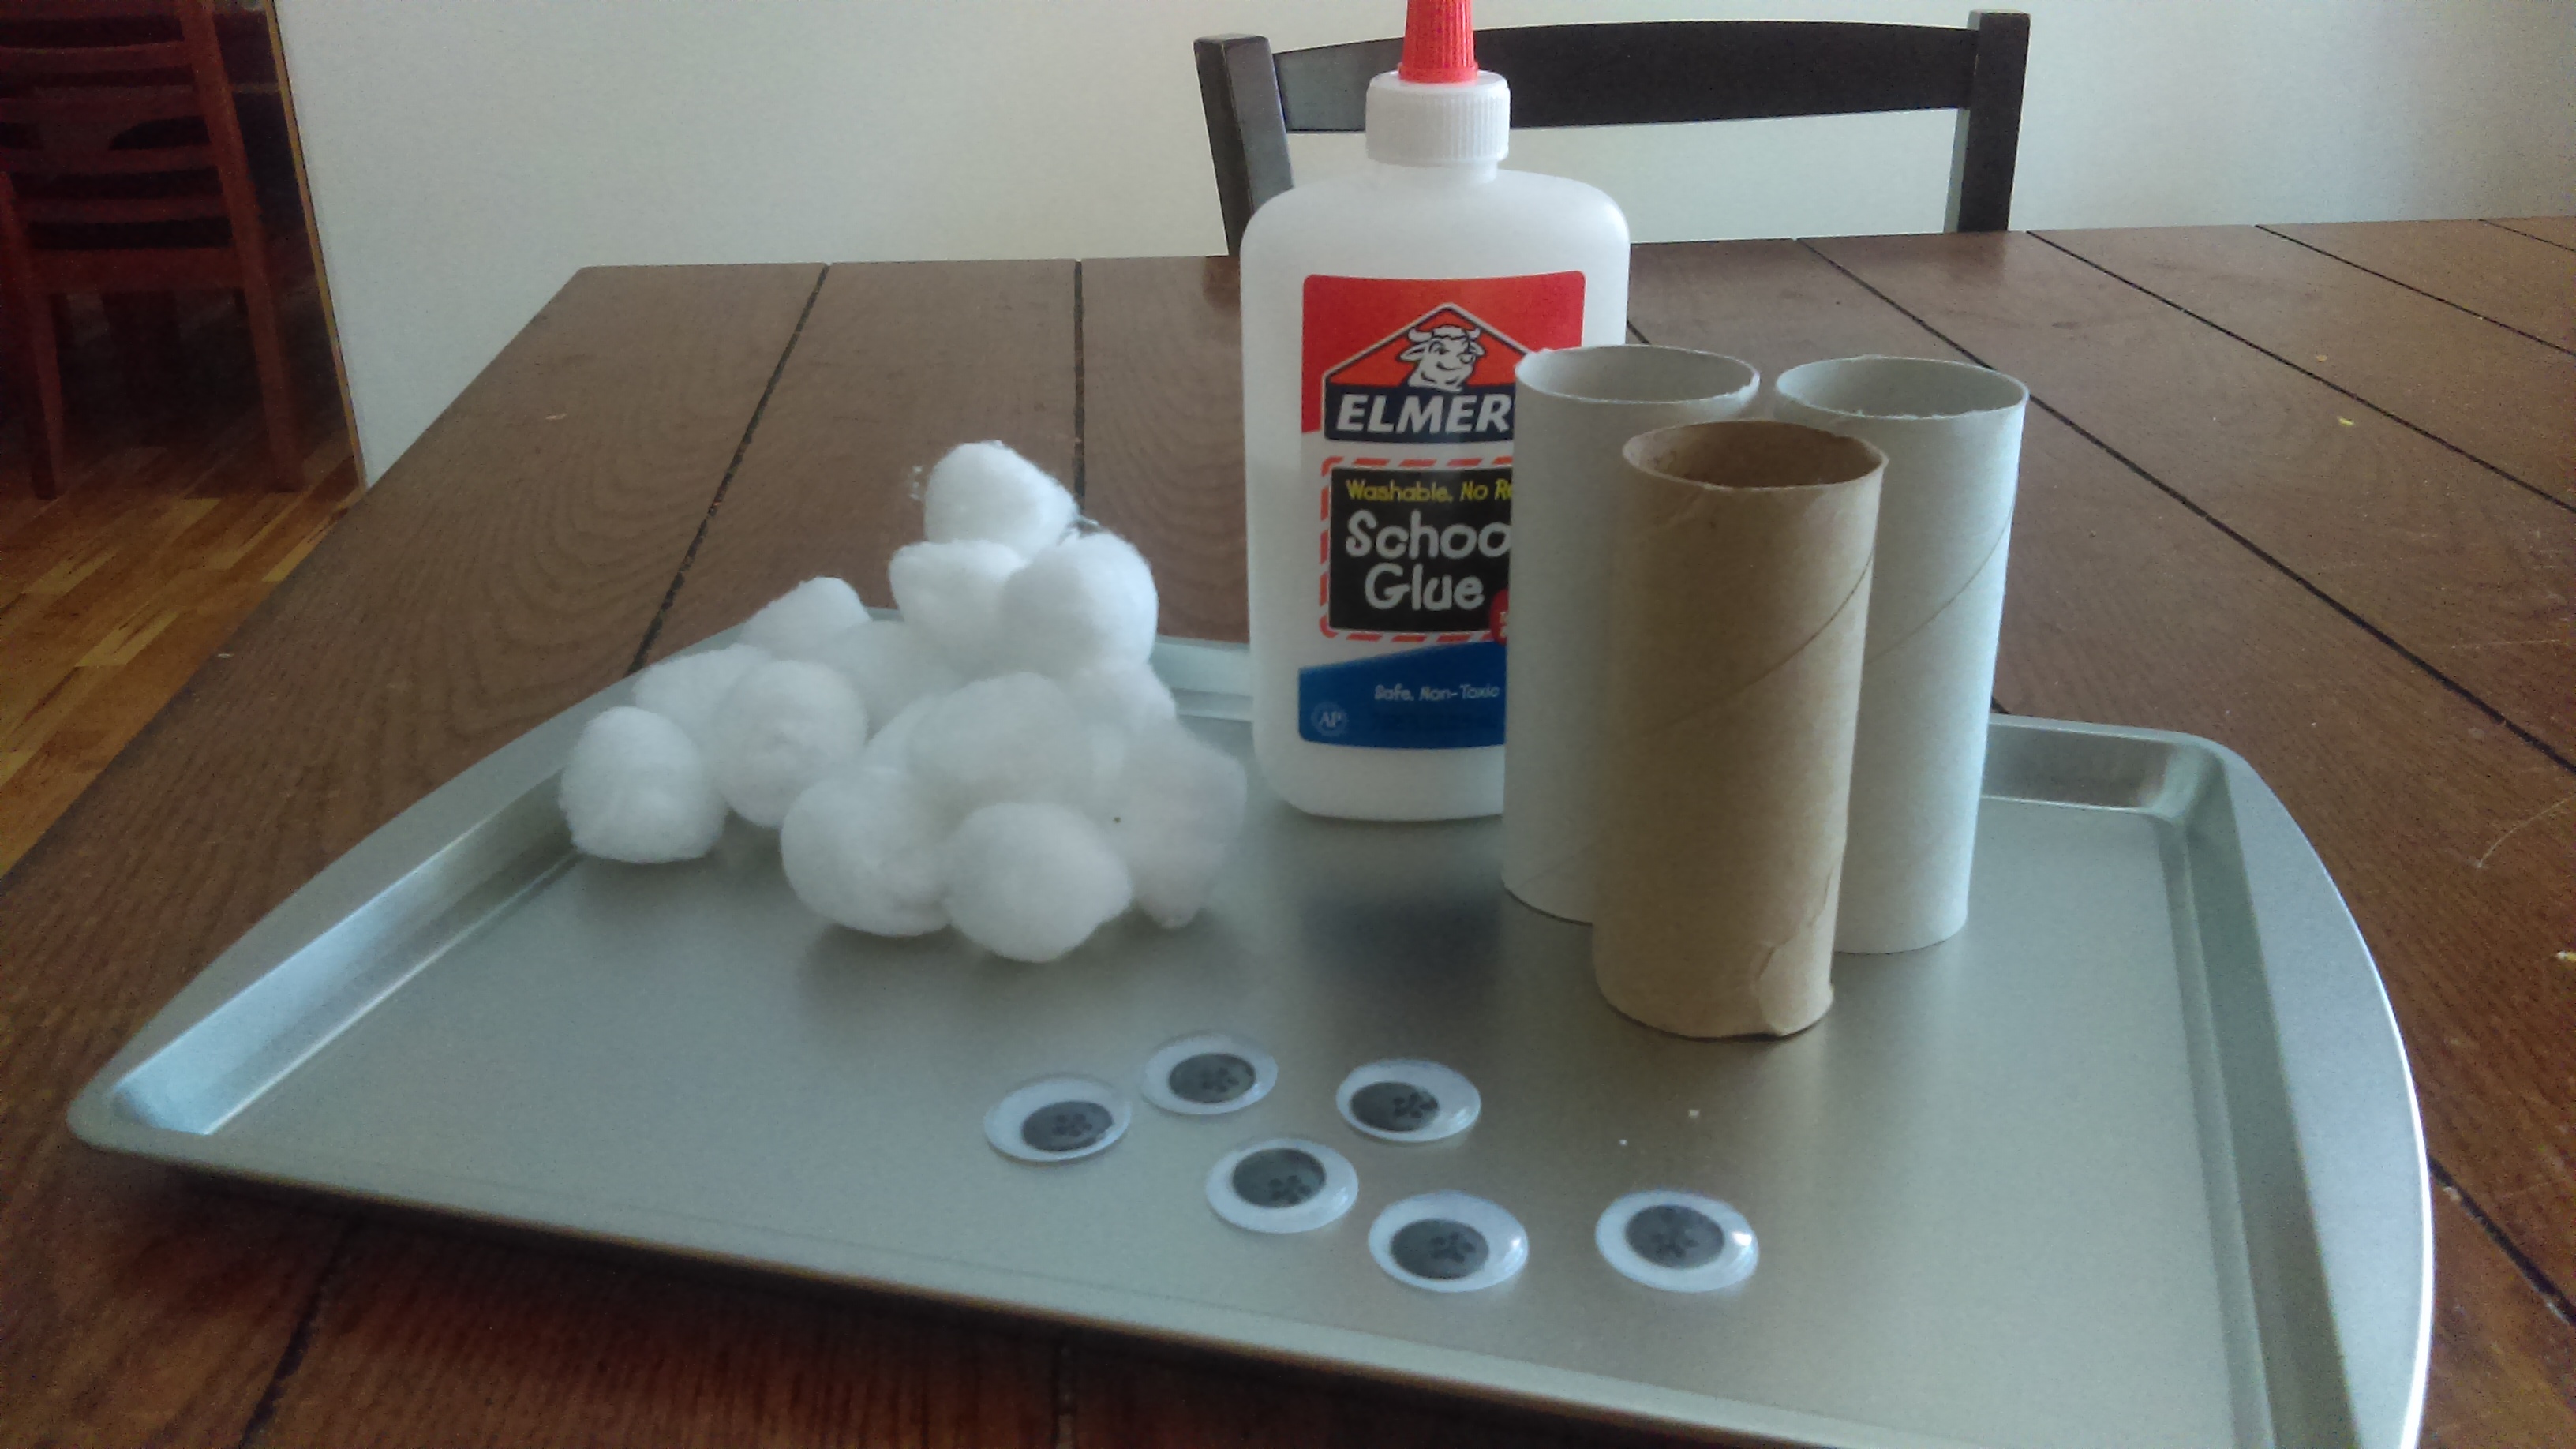
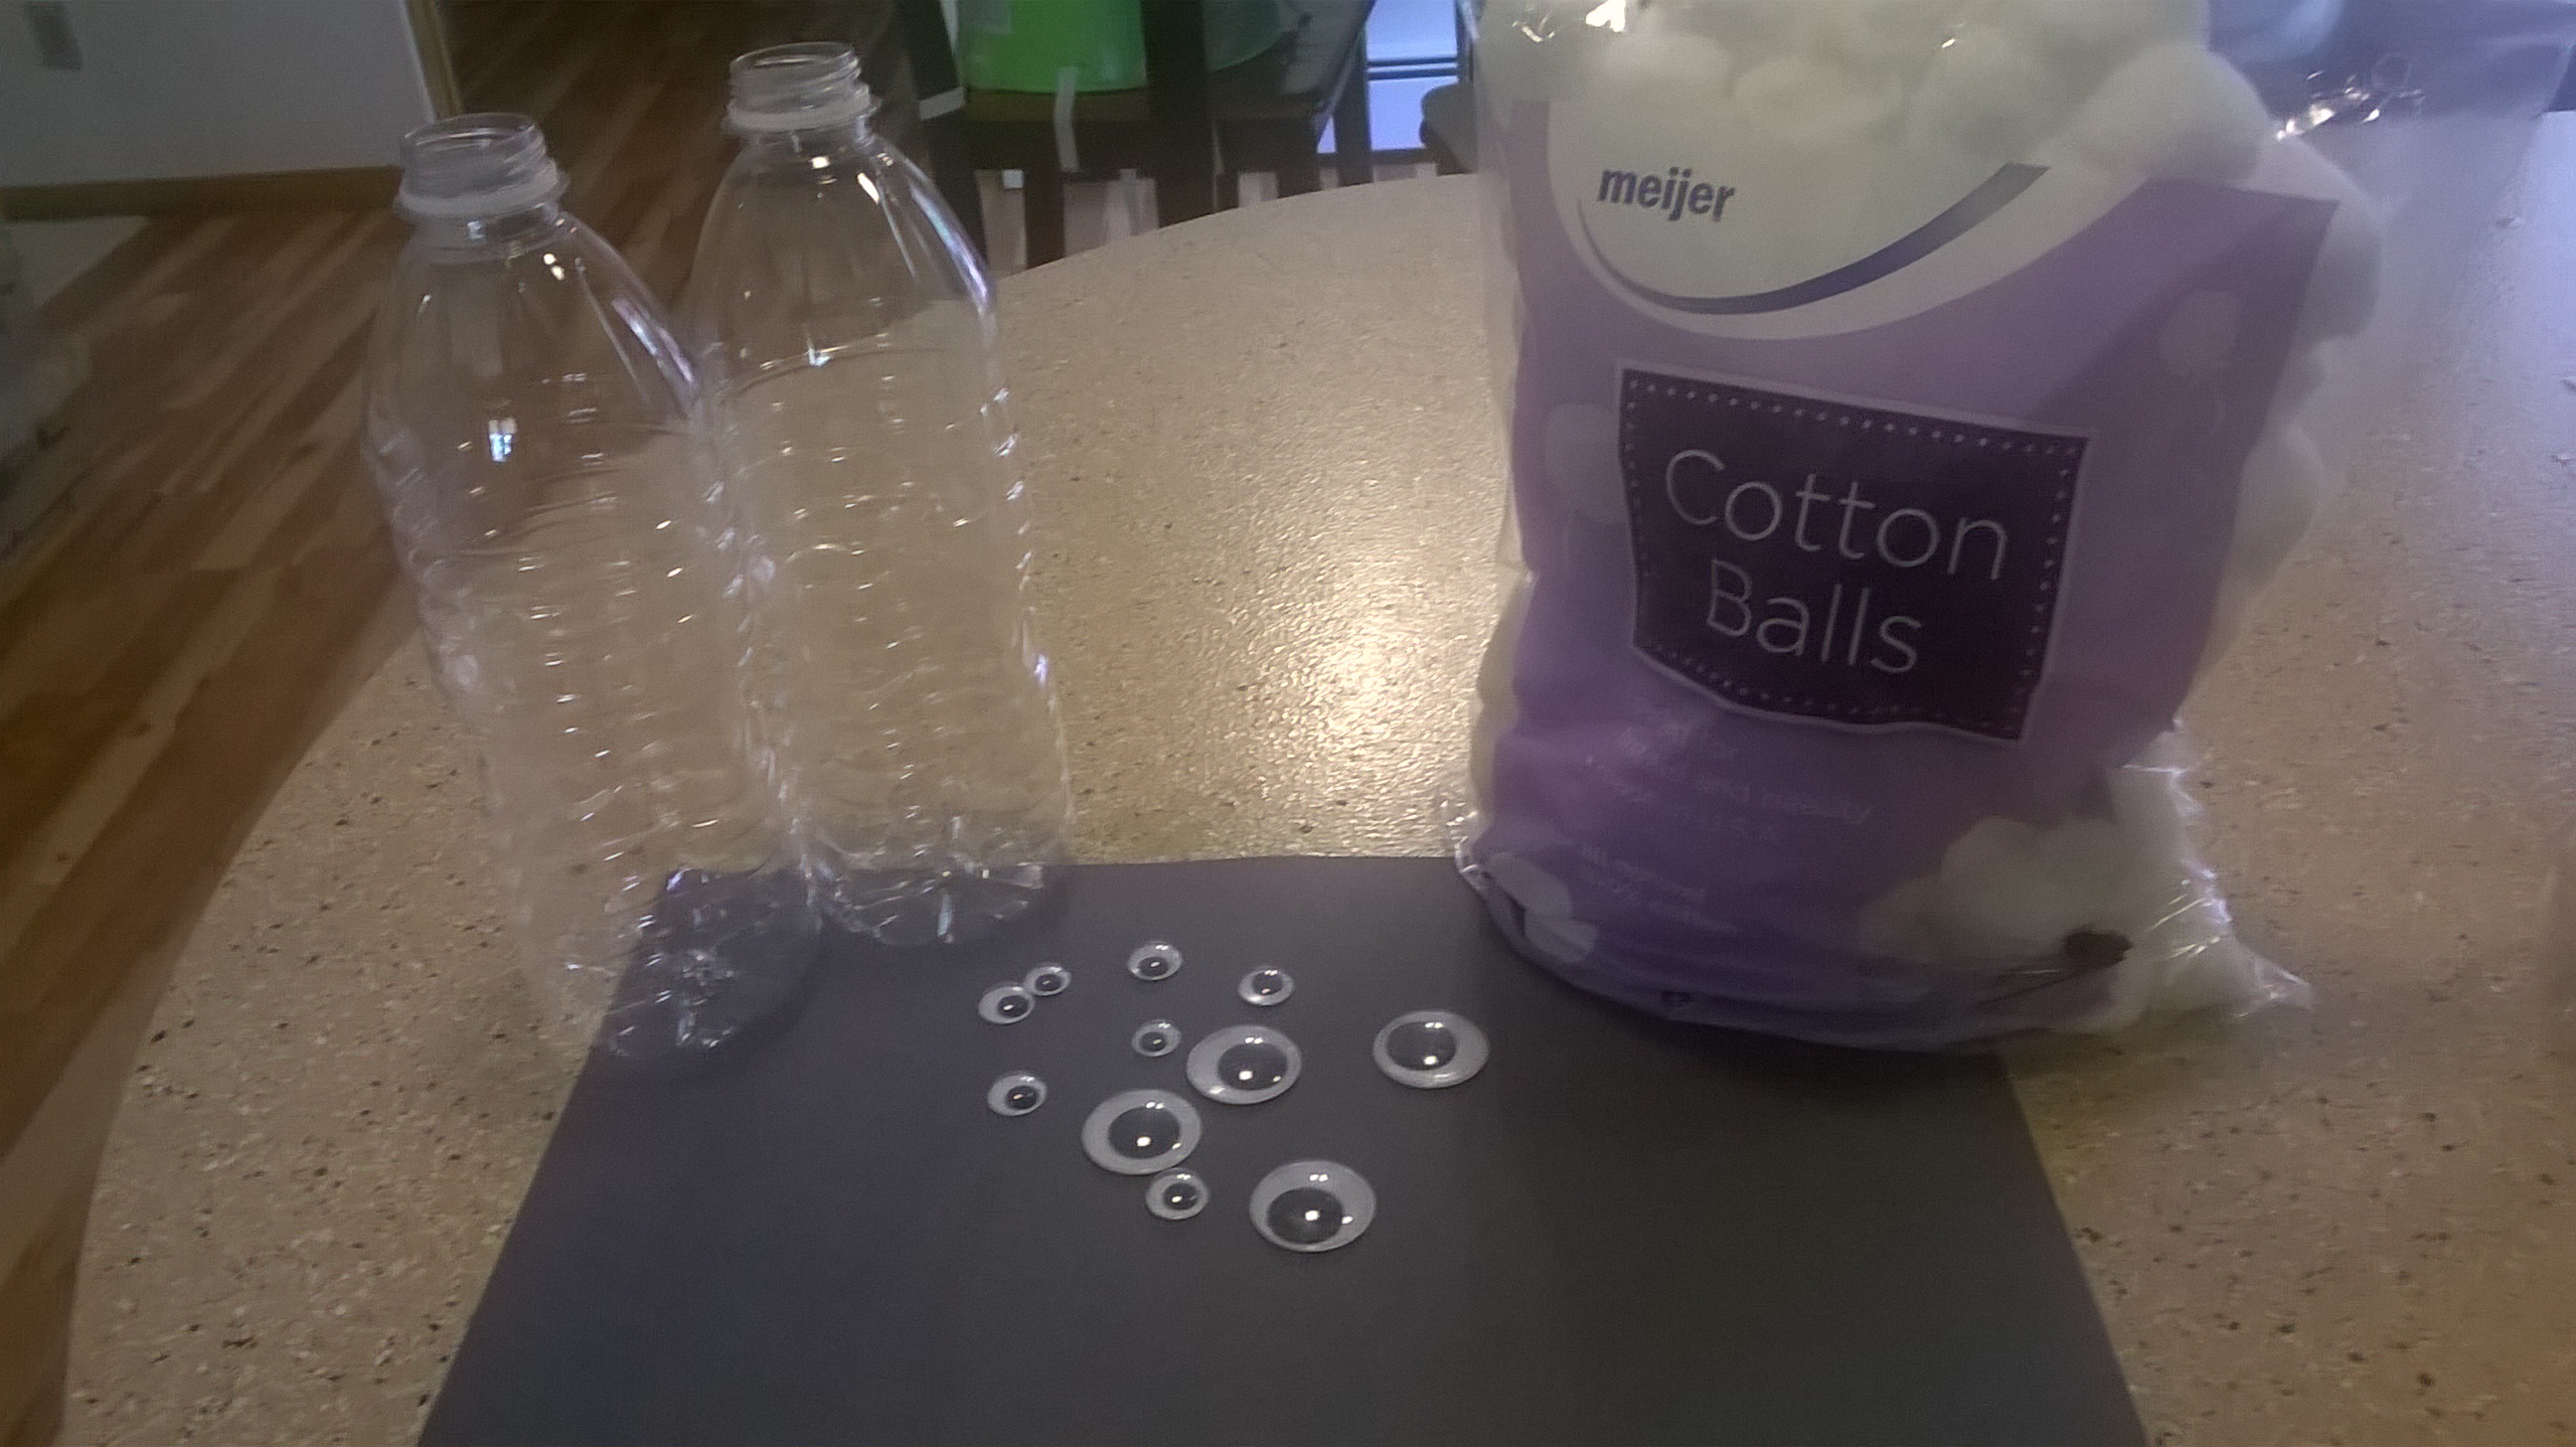
Materials Needed

Leaves of different colors

glue

craft eyeballs

construction paper

markers to label pictures (optional)

art tray/cookie sheet

Arts and Crats

Solo Cup Robots and Aliens

WP_20150930_11_32_01_Pro
Left: Babs did this one independently Middle: worked on this one together Right: My example

I originally bought a package of Solo Cups for something different to build with and it turned out to be a great activity. Since them I have used them for many different activities. Solo cup robots or aliens made a great addition to our Halloween decorations. When doing art projects like this I always make an example that is not to elaborate. This give Babs an idea of what we are working on. Not making it to elaborate leaves room for her imagination to be included. I poked a hole in the letter O on each side of the cup. An adult can do this with a knife or you can help your child do it with a single hole punch. Then they are able to thread the pipe cleaners through the cup for the arms. We used colored pom poms for the hair and nose and different size eyes. Regular Elmer’s School Glue worked perfect to get everything to stick.

WP_20150930_10_57_16_Pro WP_20150930_11_00_32_Pro     WP_20150930_11_10_44_Pro WP_20150930_11_13_21_Pro

After making our robots/aliens we still had some materials so we decided to make a spaceship out of paper plates.WP_20150930_11_29_16_ProMaterials Needed

Solo Cups

Colored Pom Poms

Pipe Cleaners

Eyes

Markers

Glue

Hole punch

Hint: All of these materials can be purchased at the Dollar Store. To make our art materials last longer I only put out a little bit of each material. Then when they are gone we are done creating. 🙂 It also creates an easy stopping point because Babs would do arts and crafts all day!