Sensory Play

DIY Snow

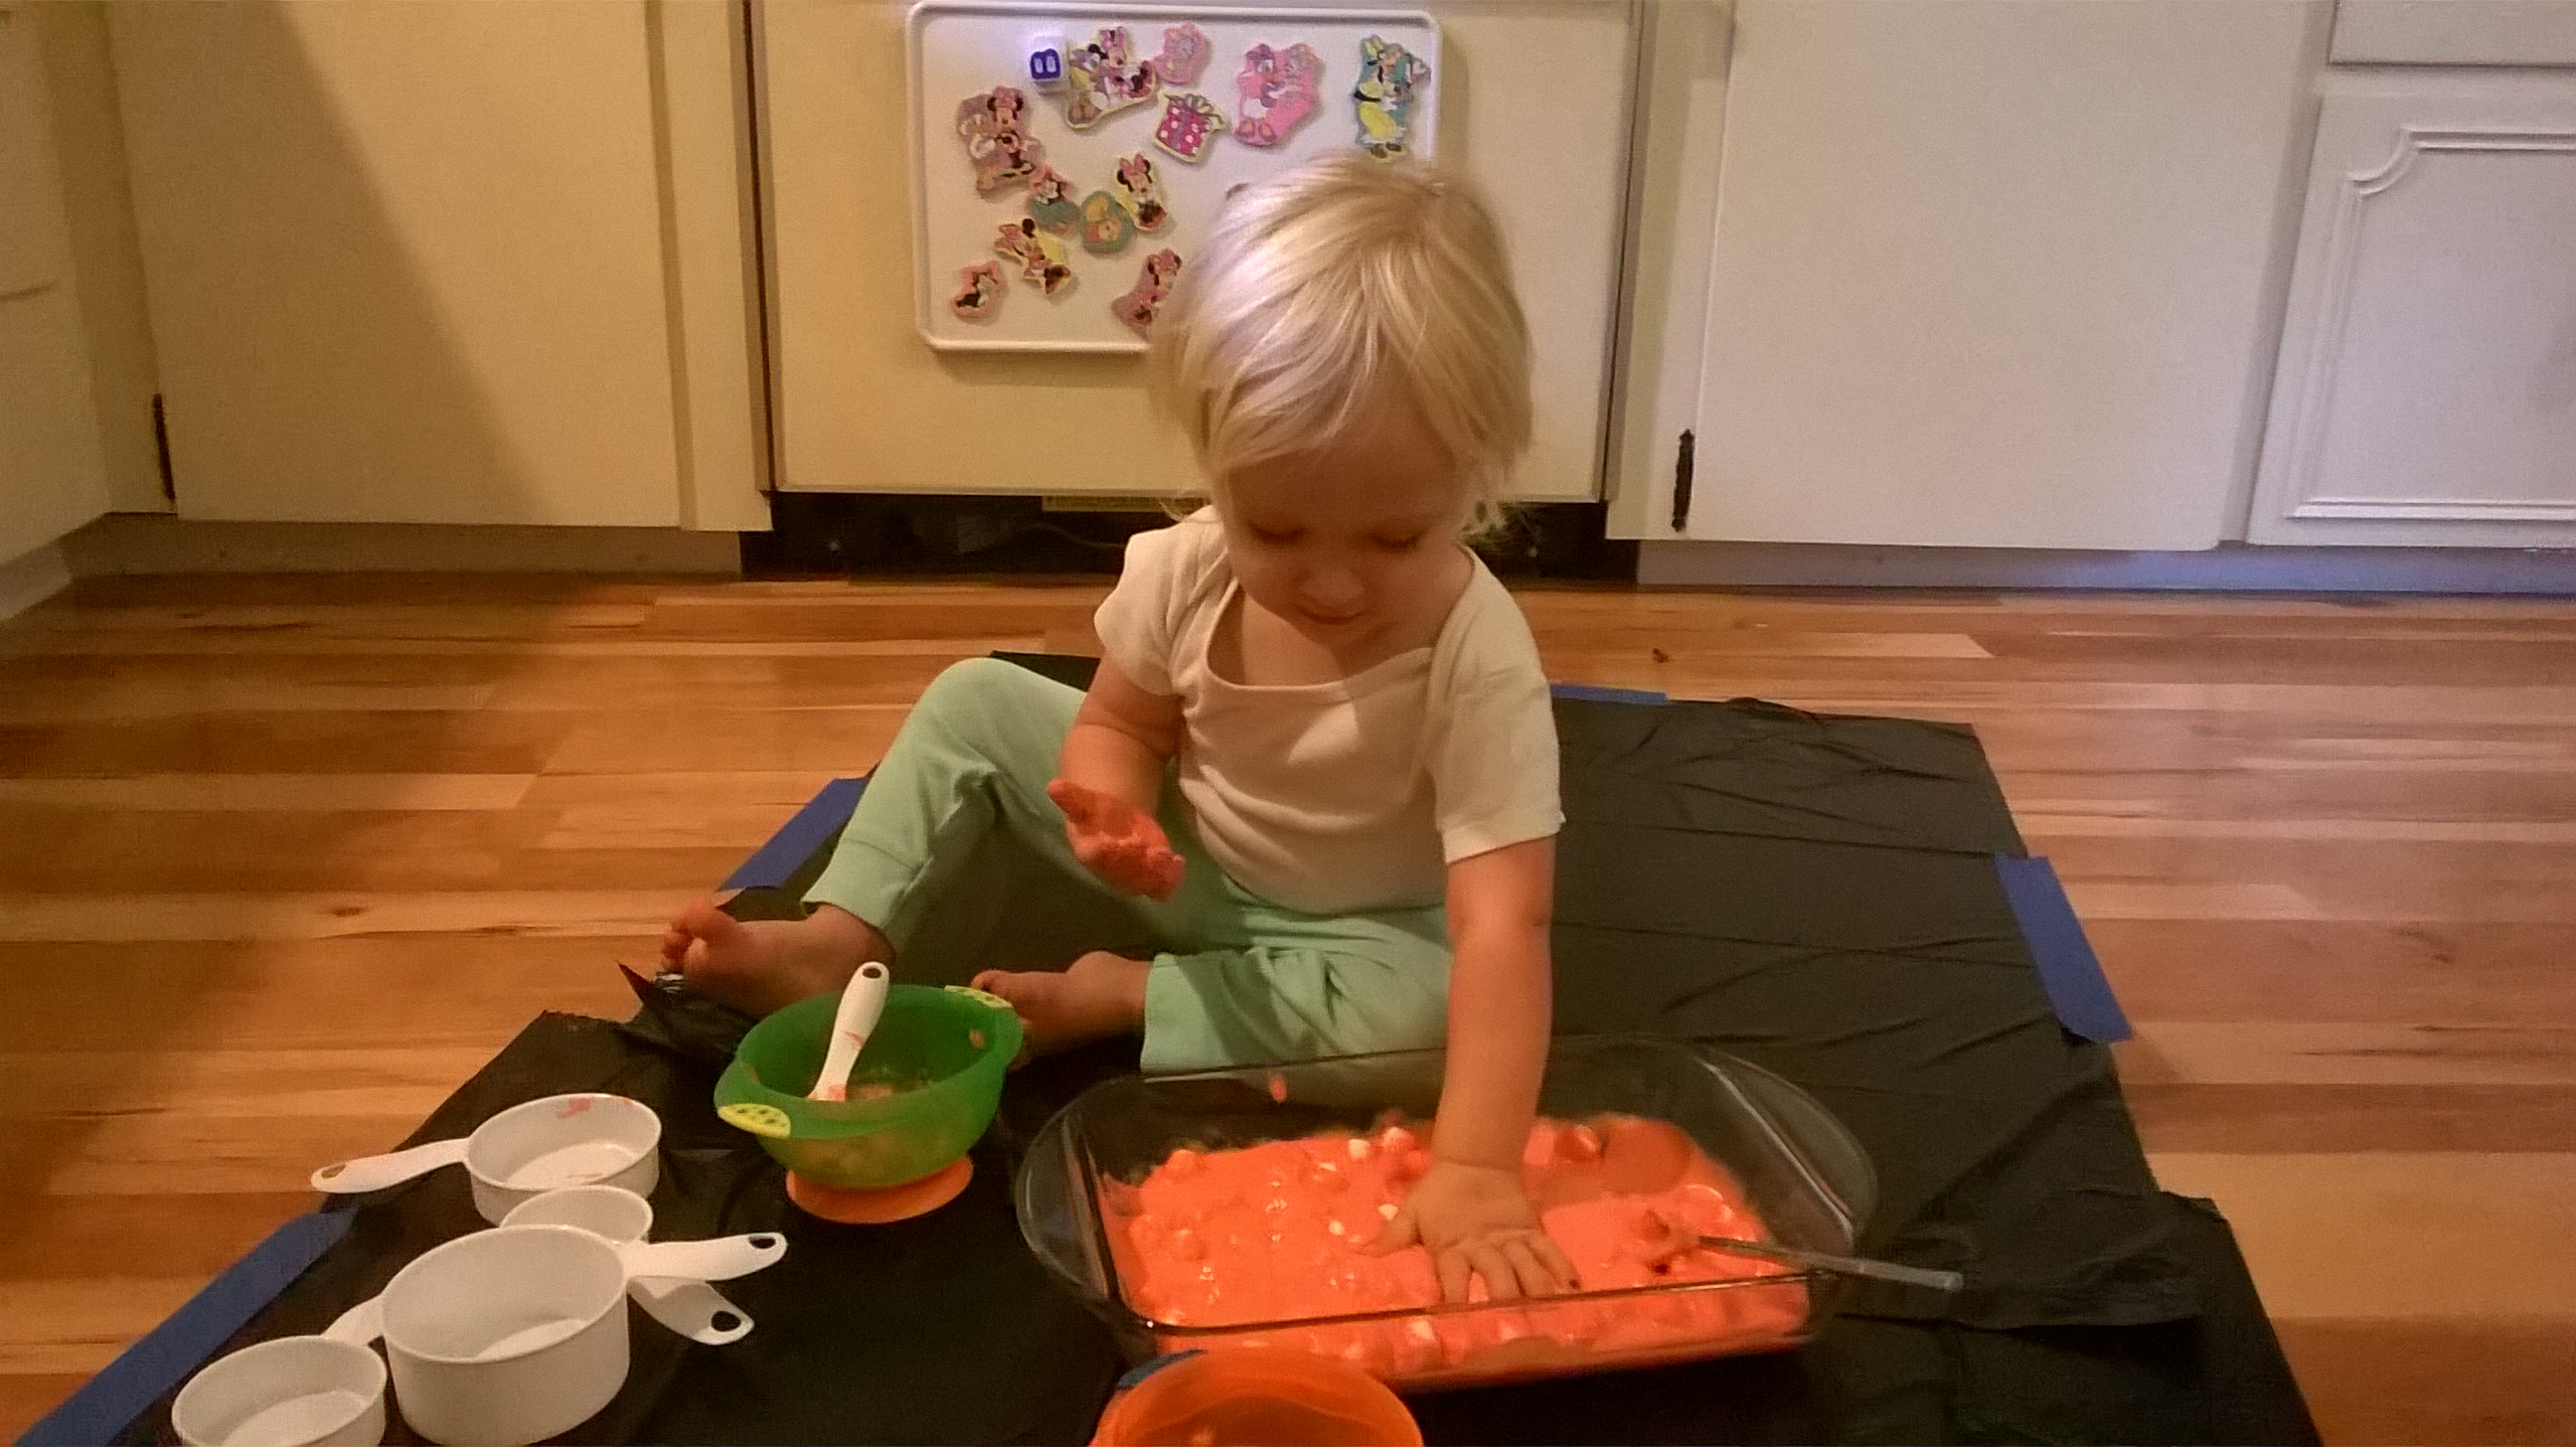
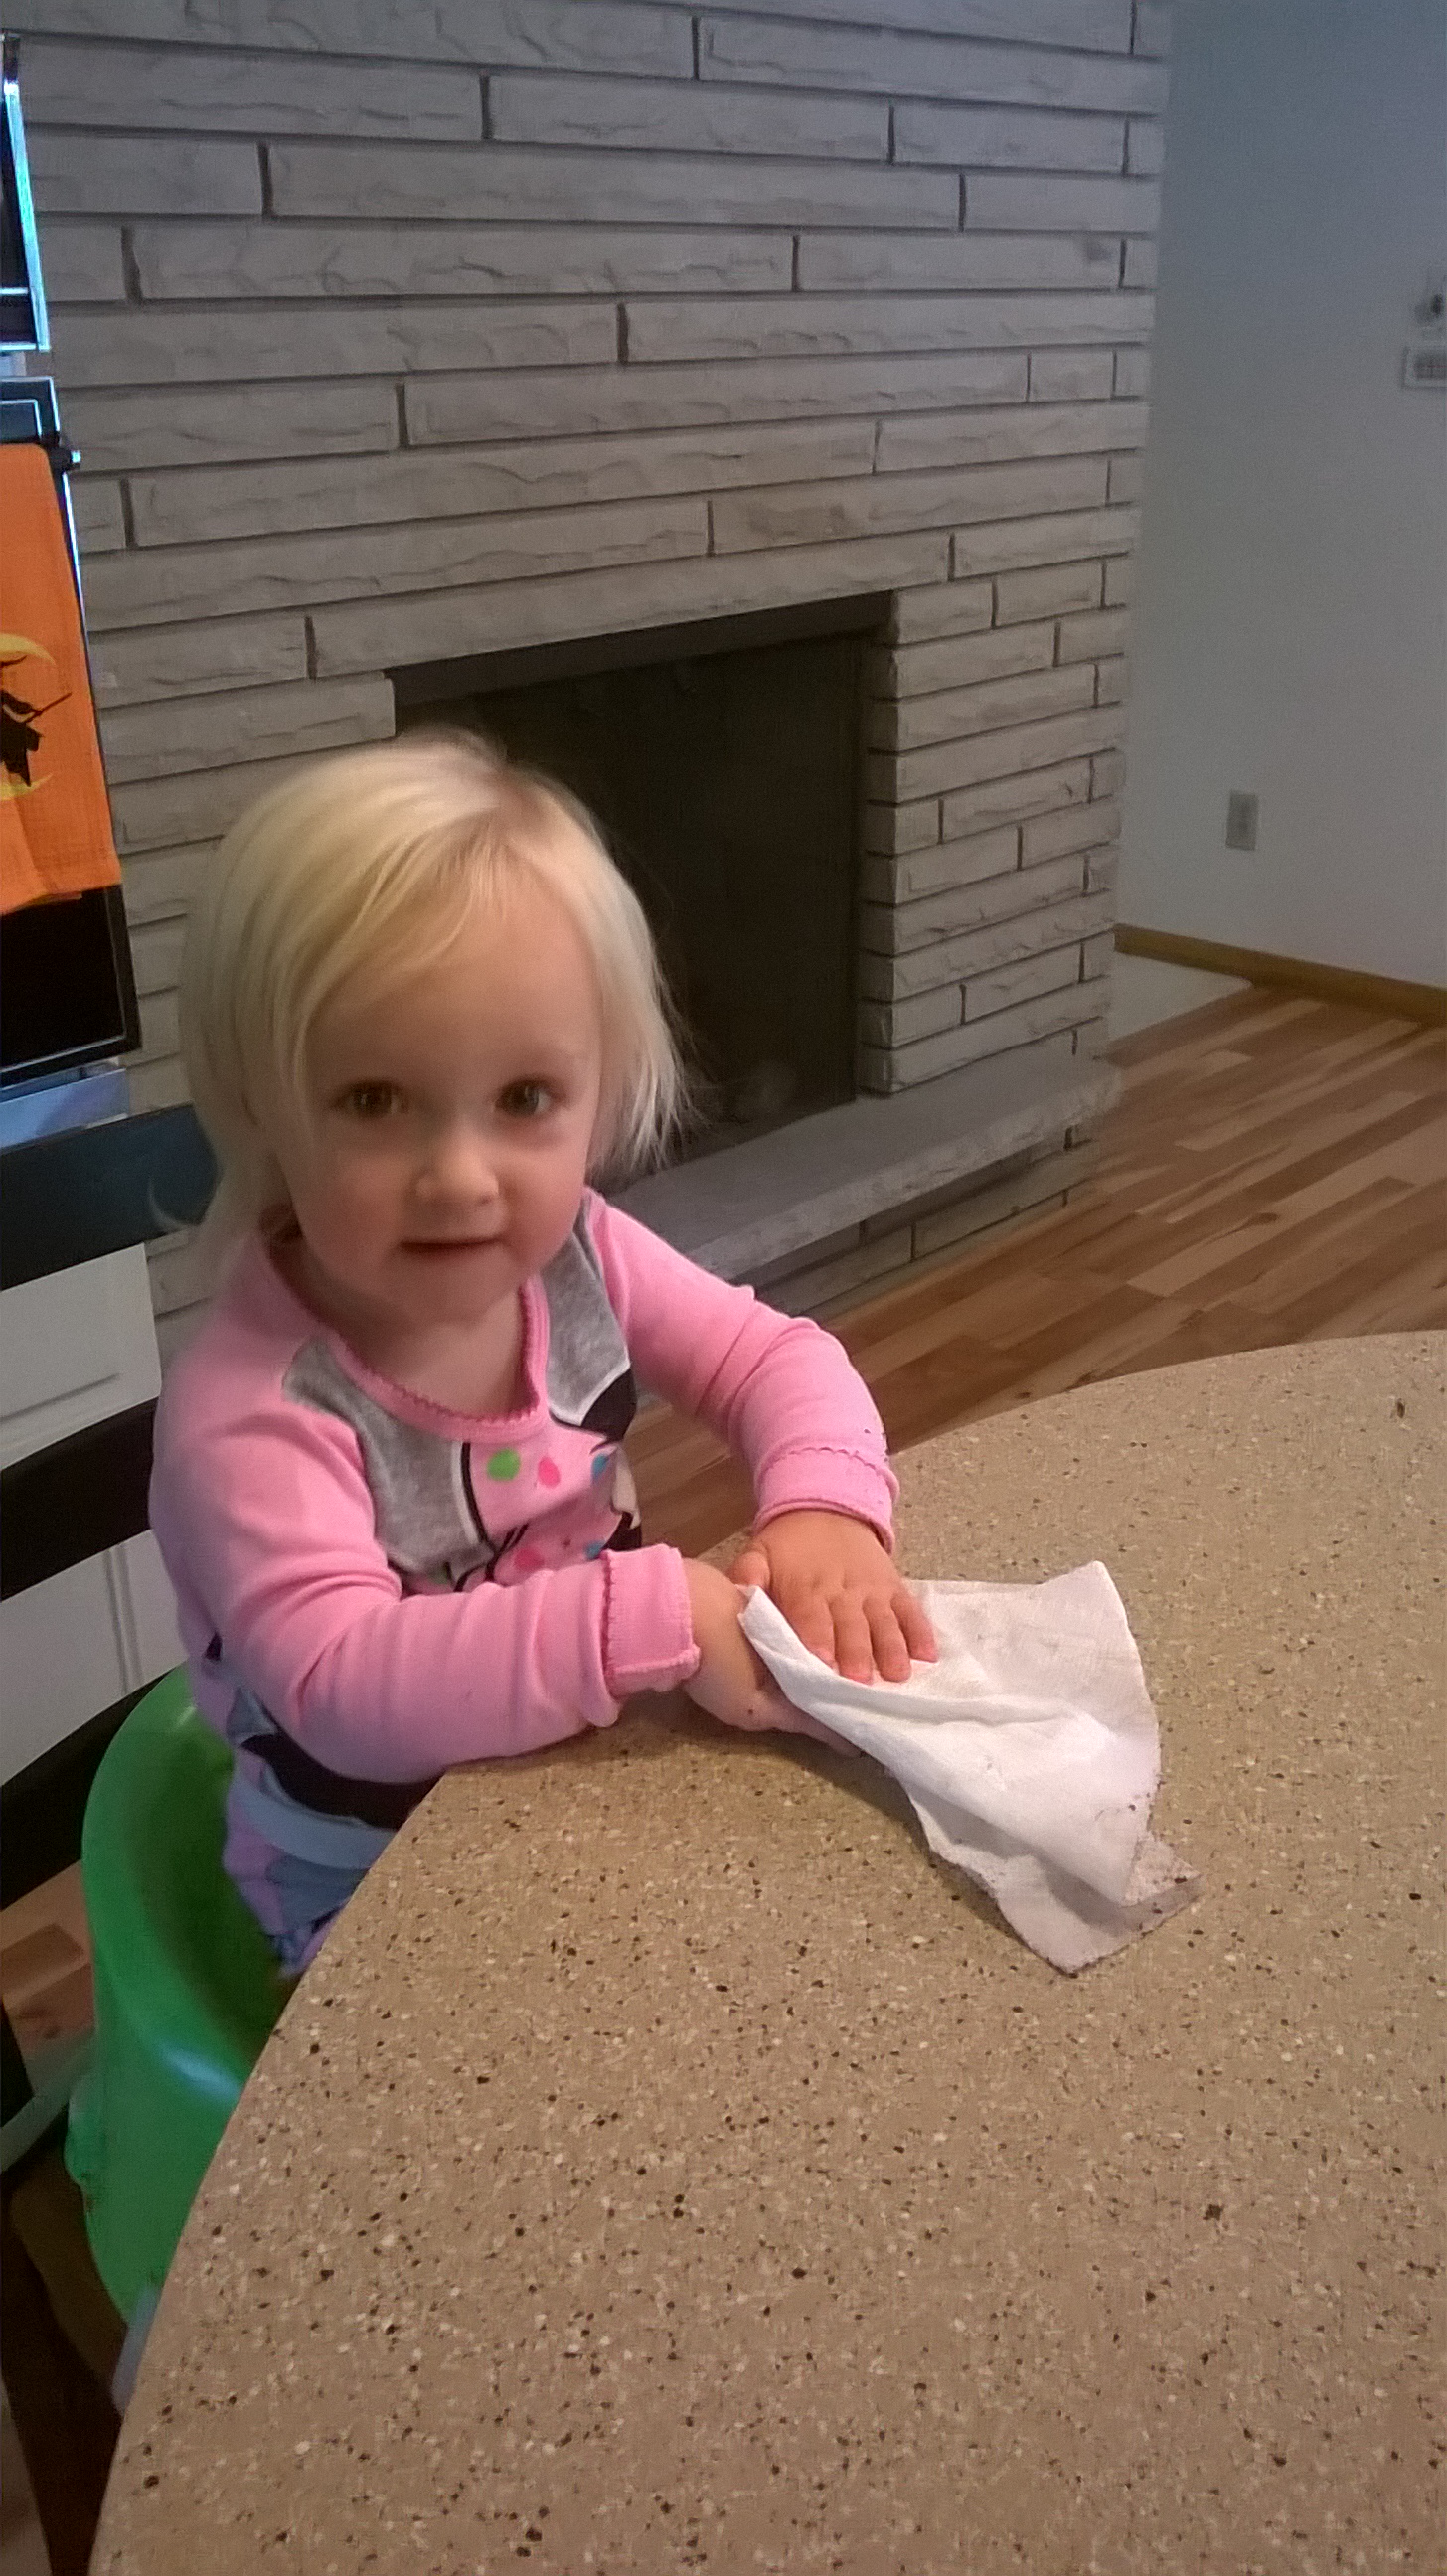
I played around with this recipe forever trying to get the right consistency. Most of my sensory recipes come from randomly mixing items together and seeing what they turn into. Babs and I call it creative cooking! I tell her we are going to pretend cook. Some of my favorite memories as a kid is when my mom let my sister and I “cook” very creative concoctions in the kitchen.

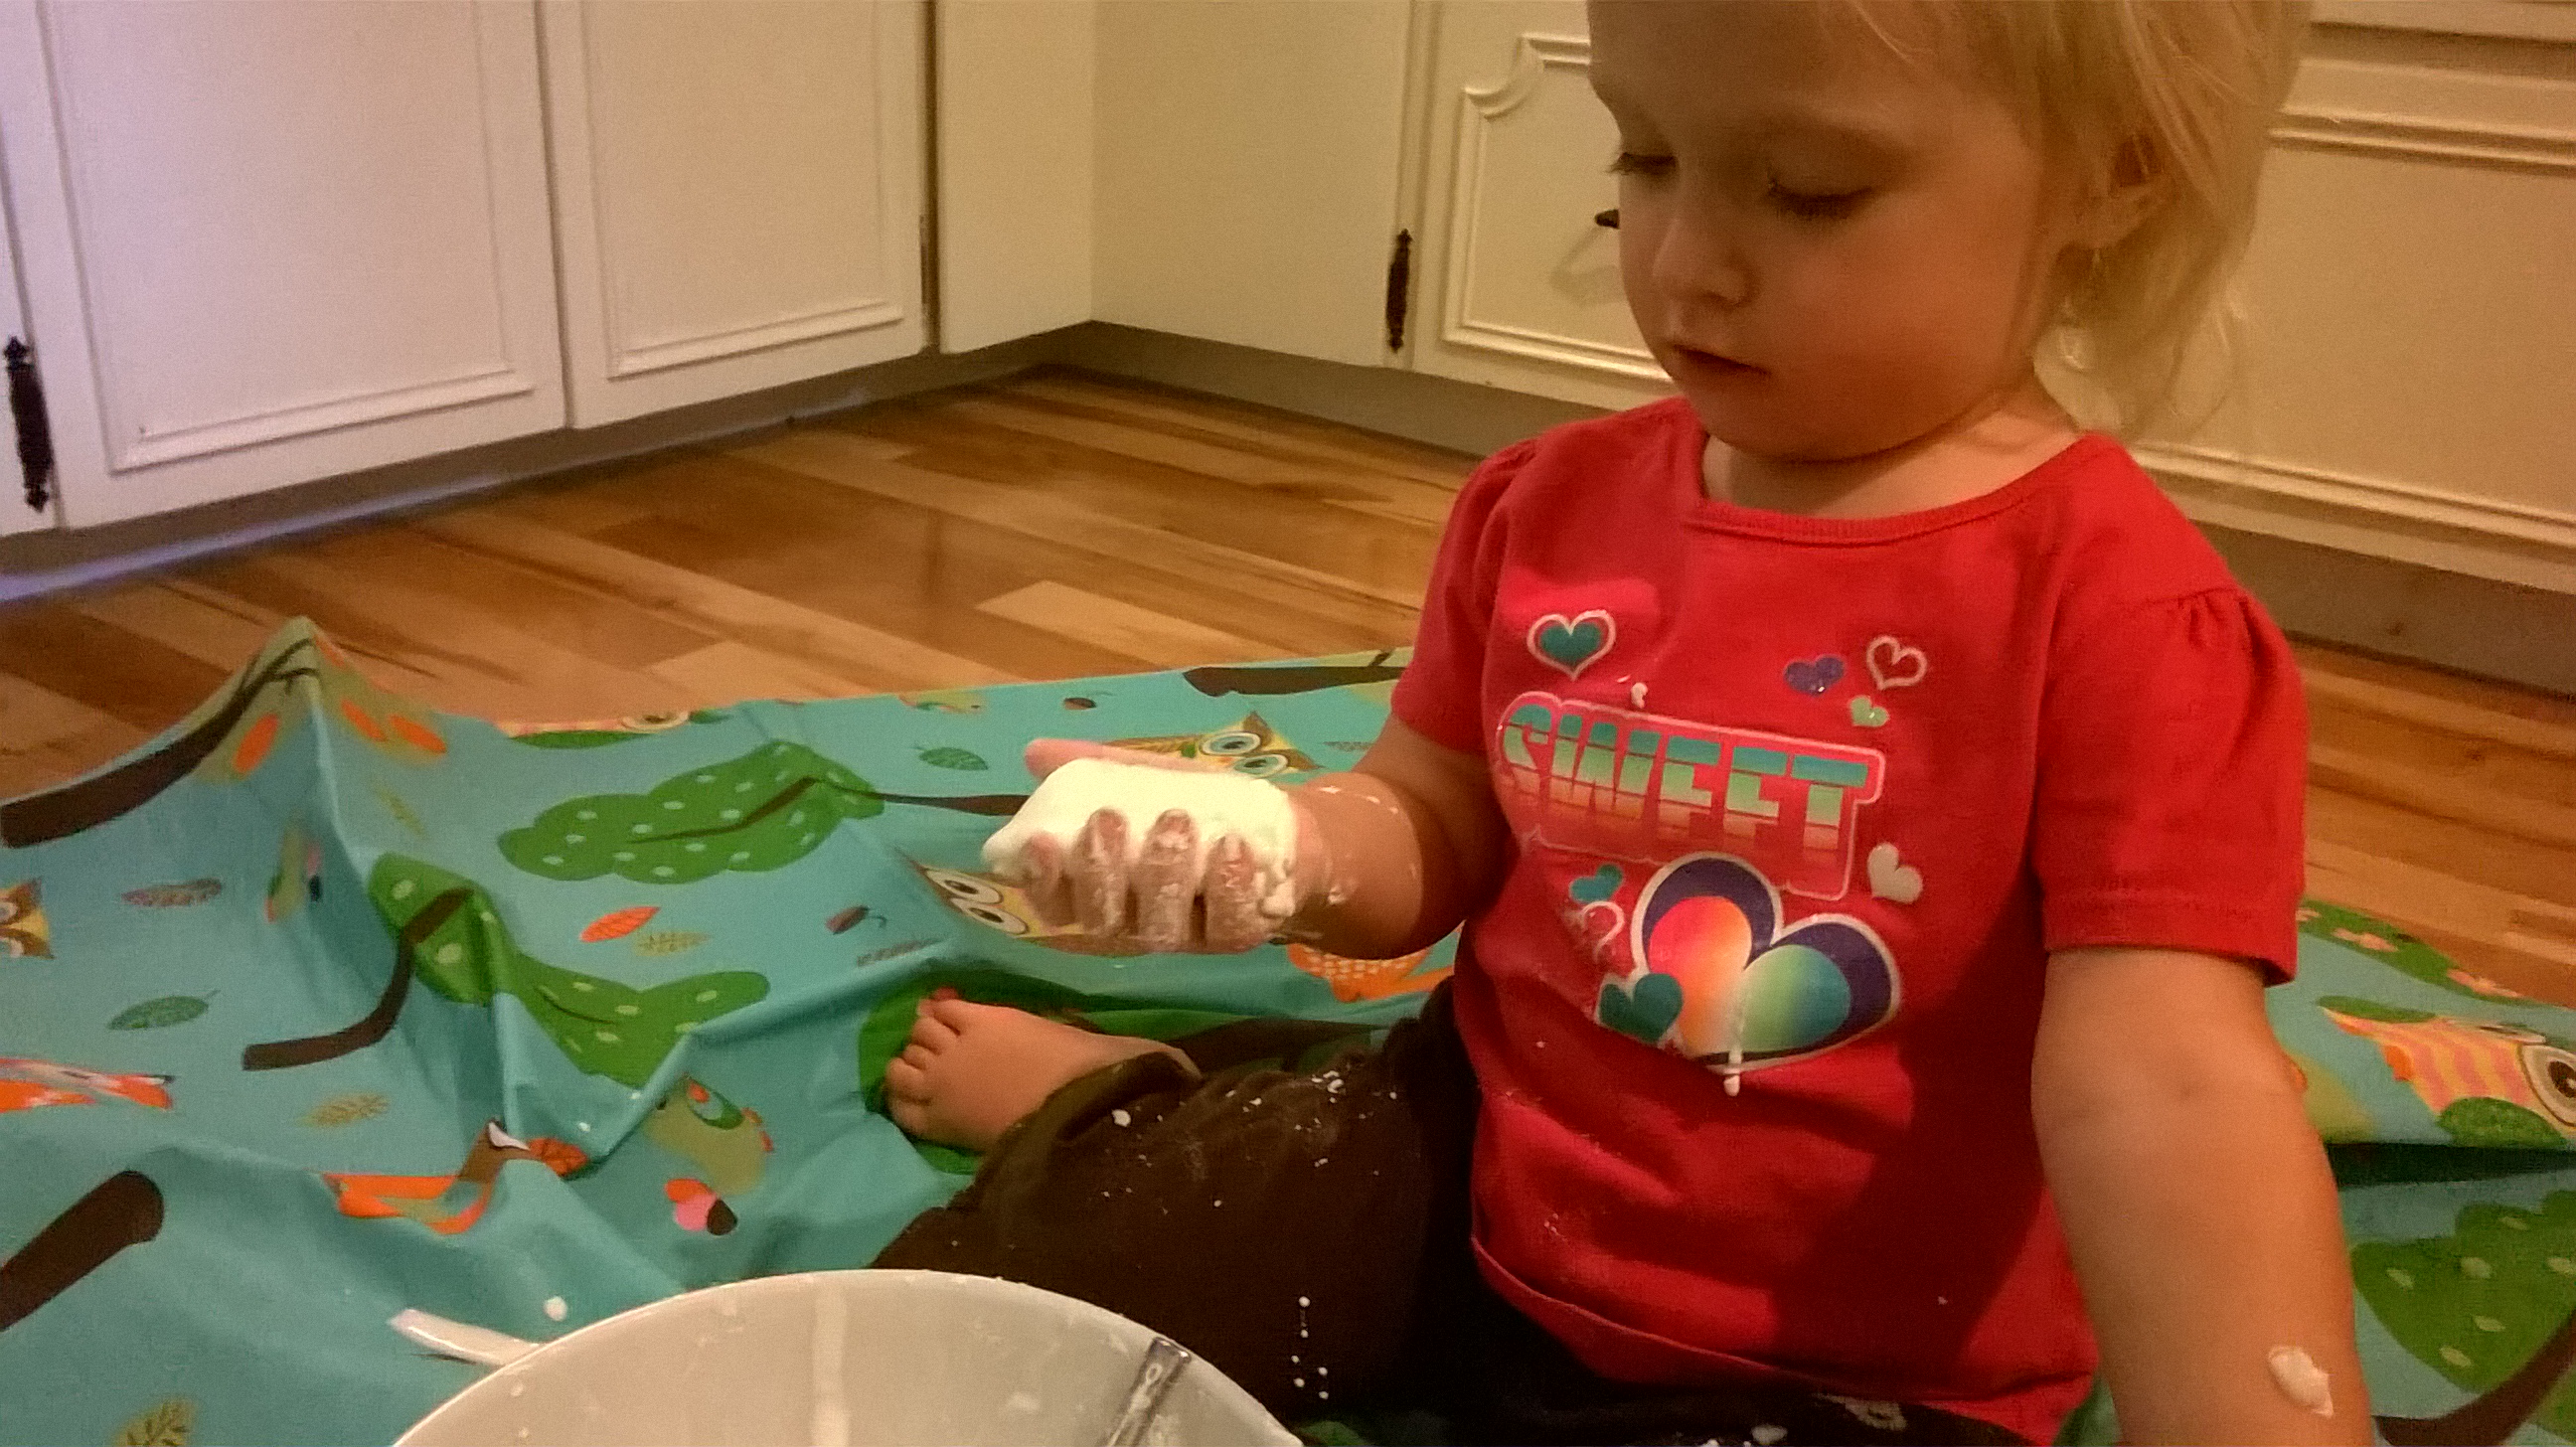
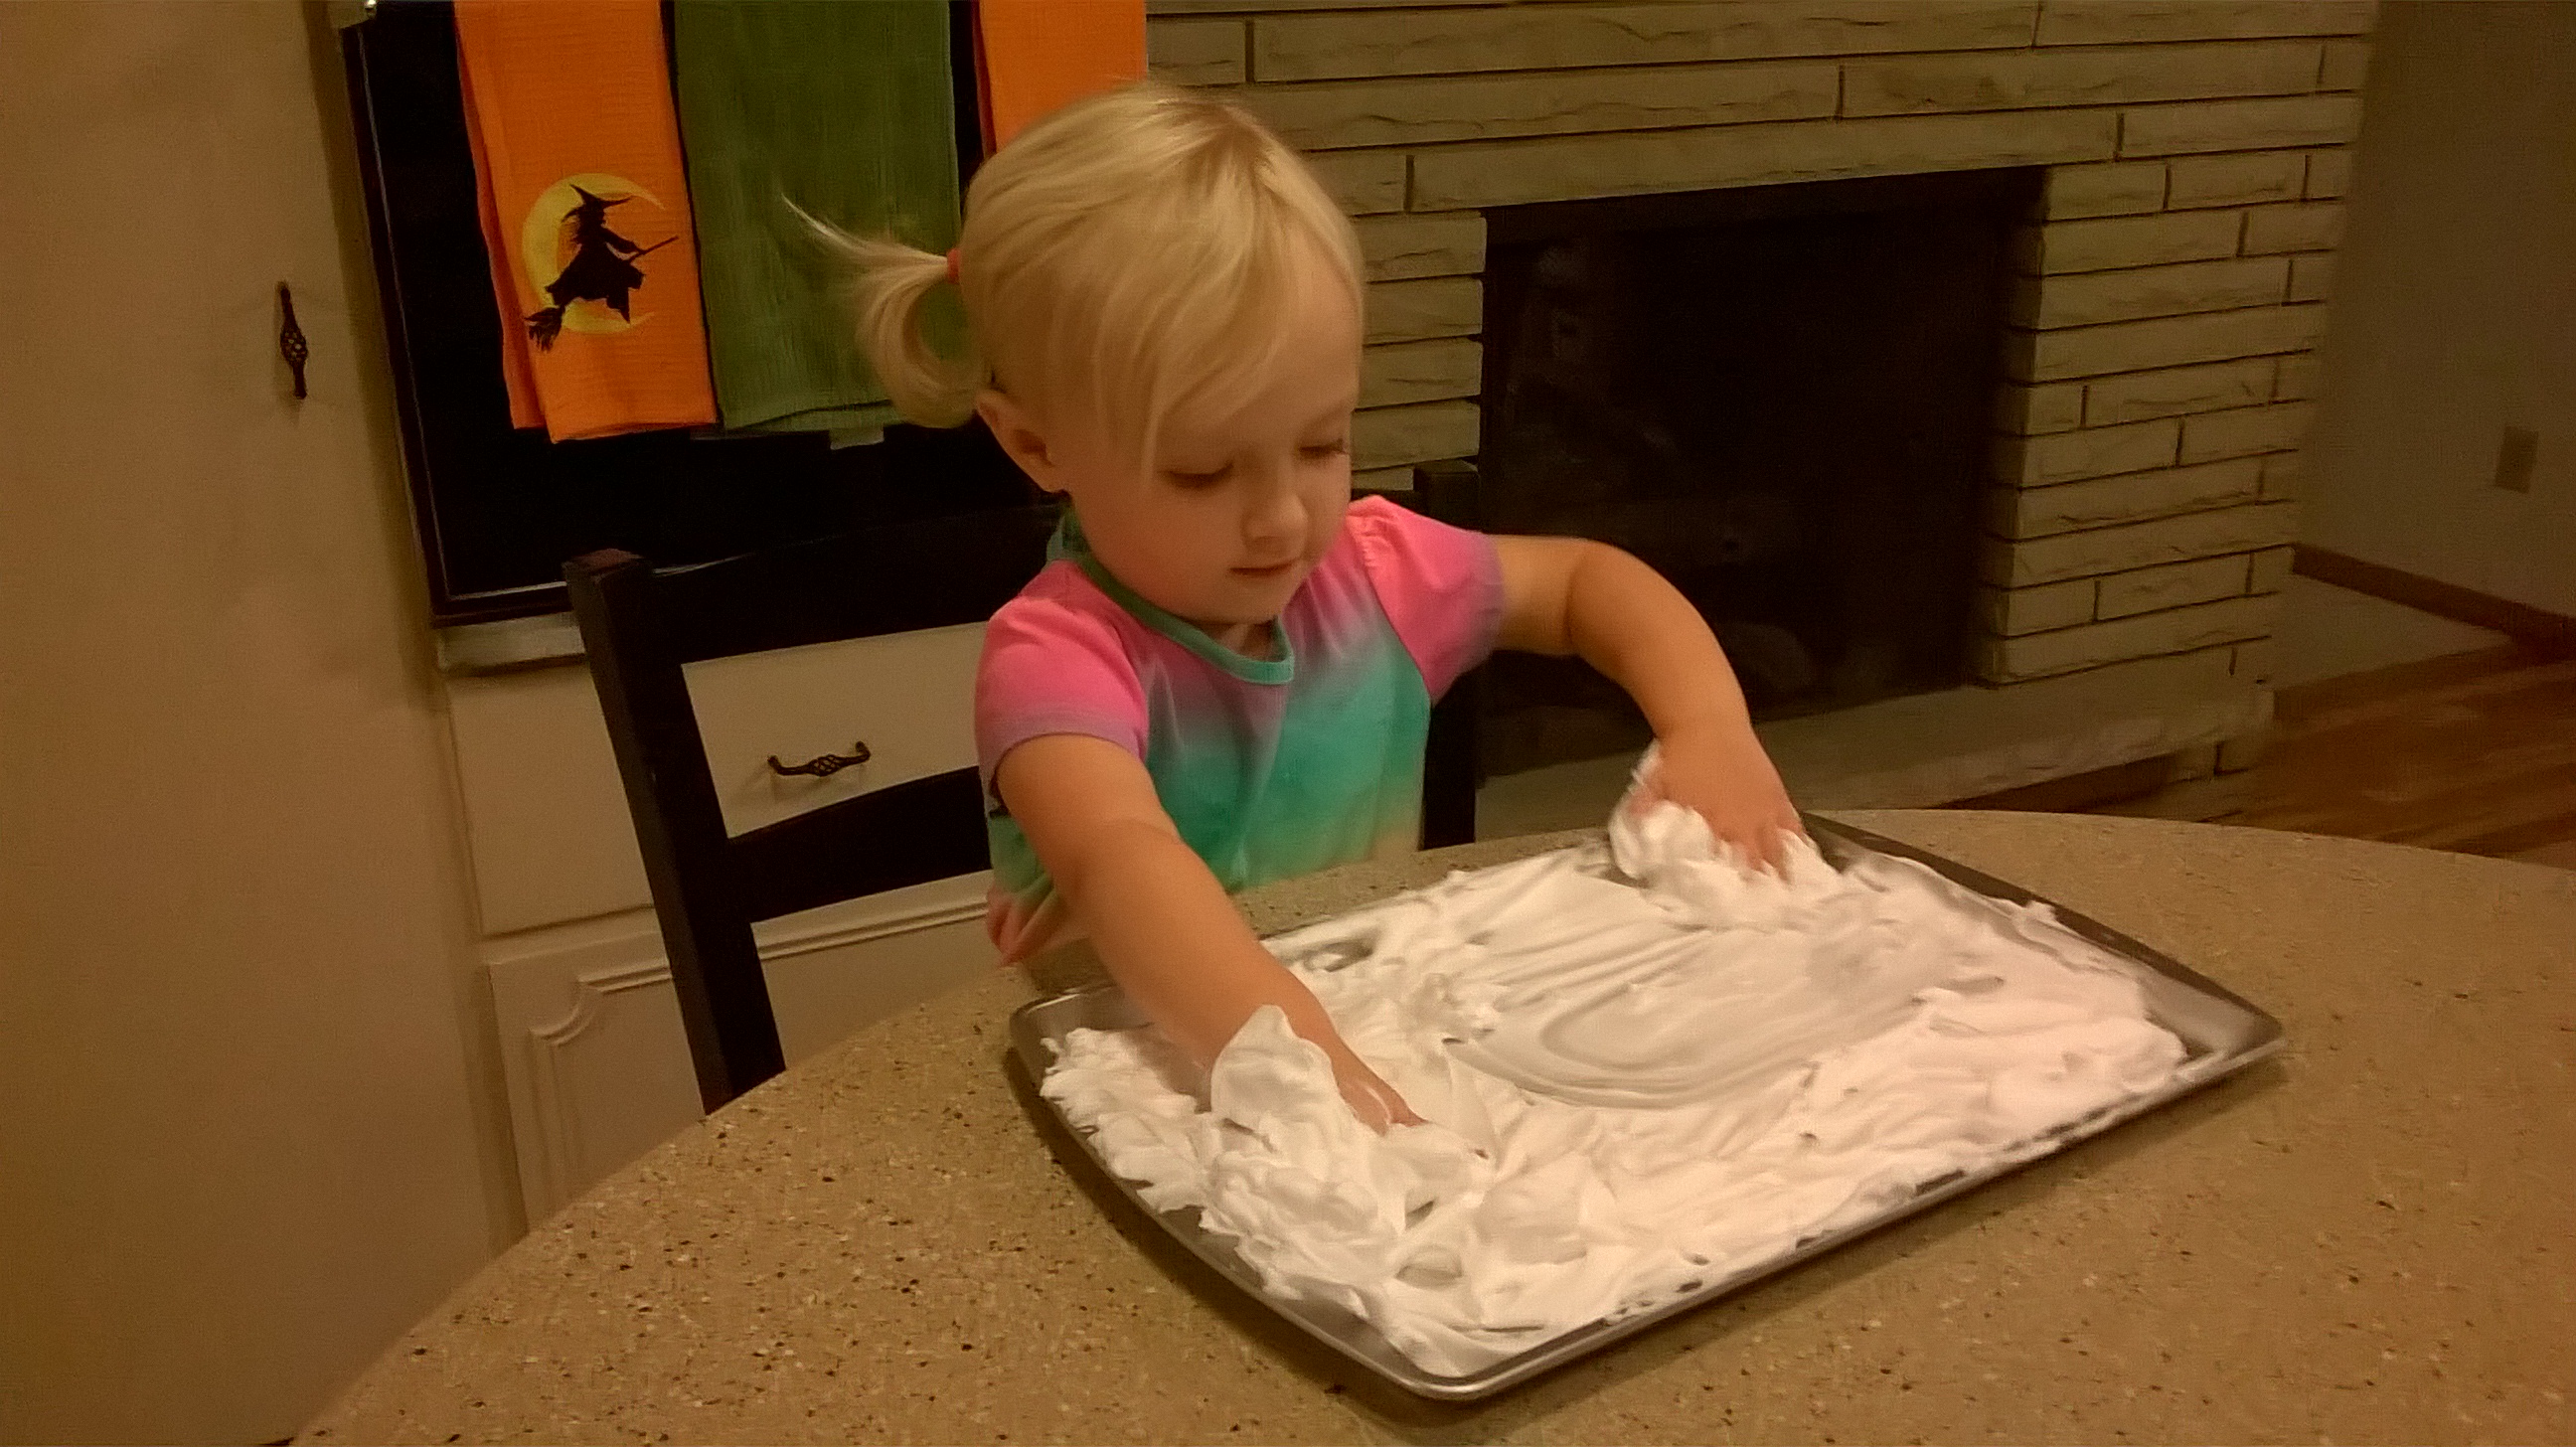
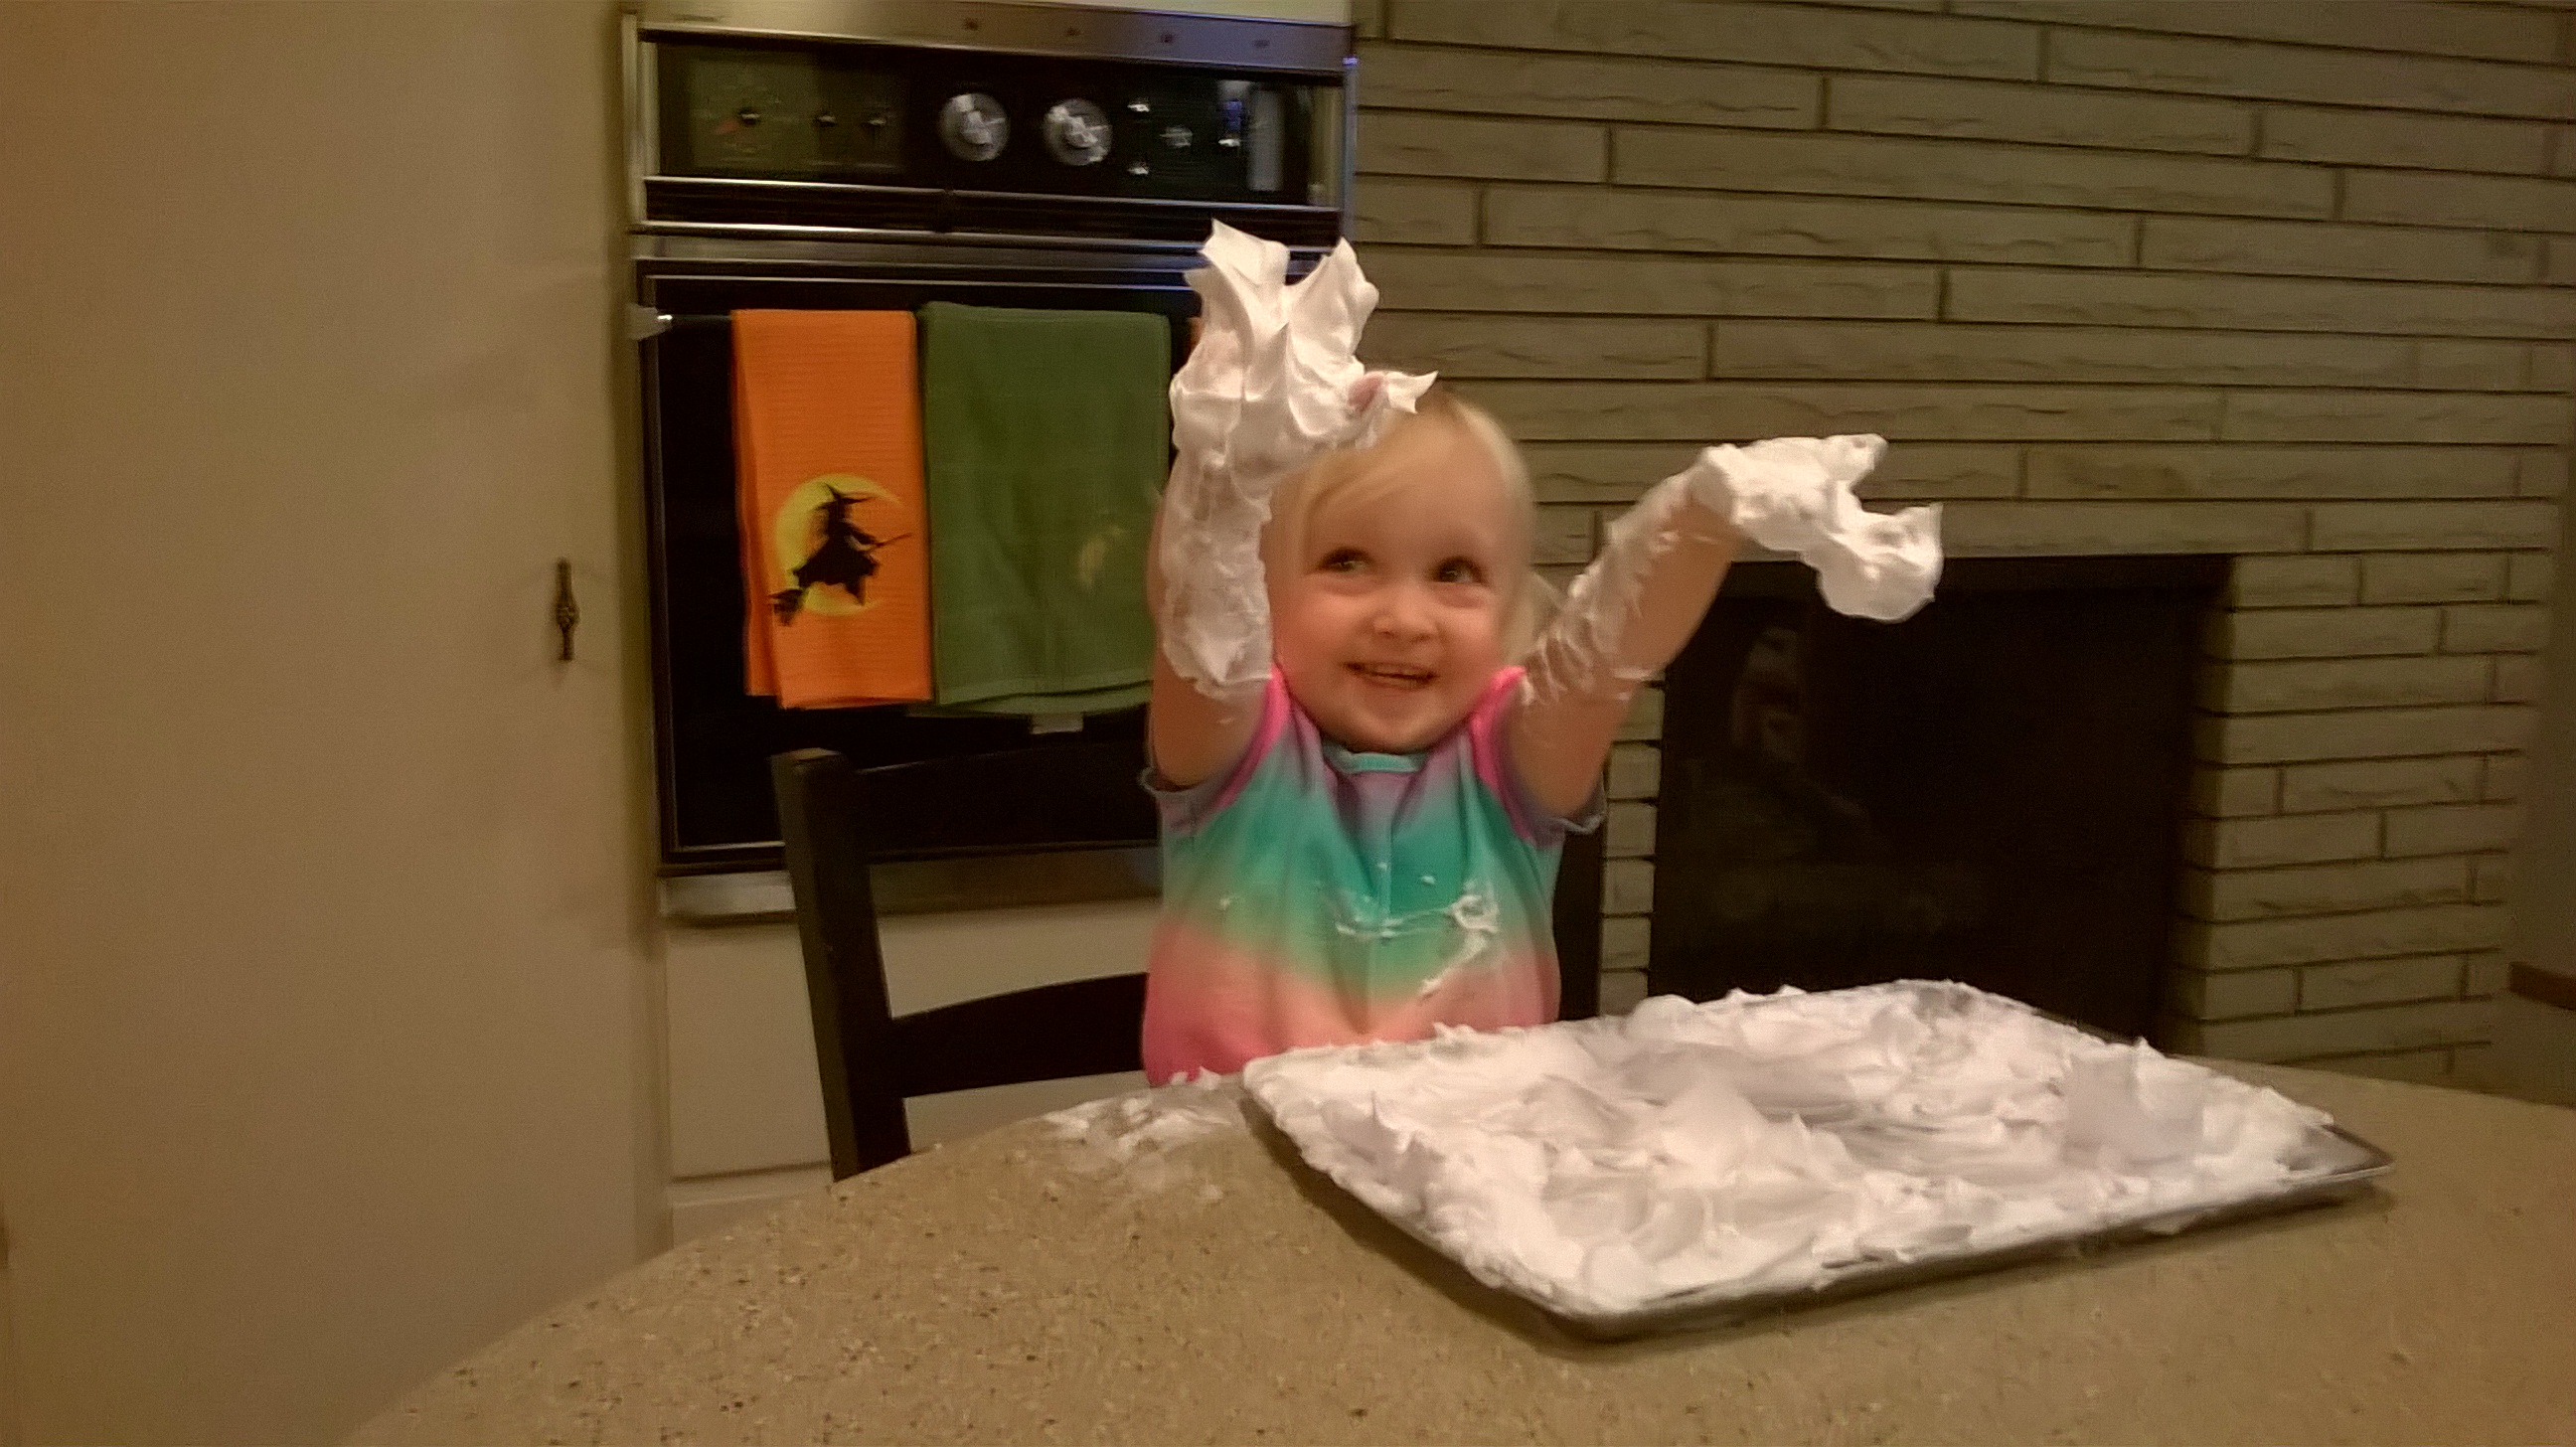
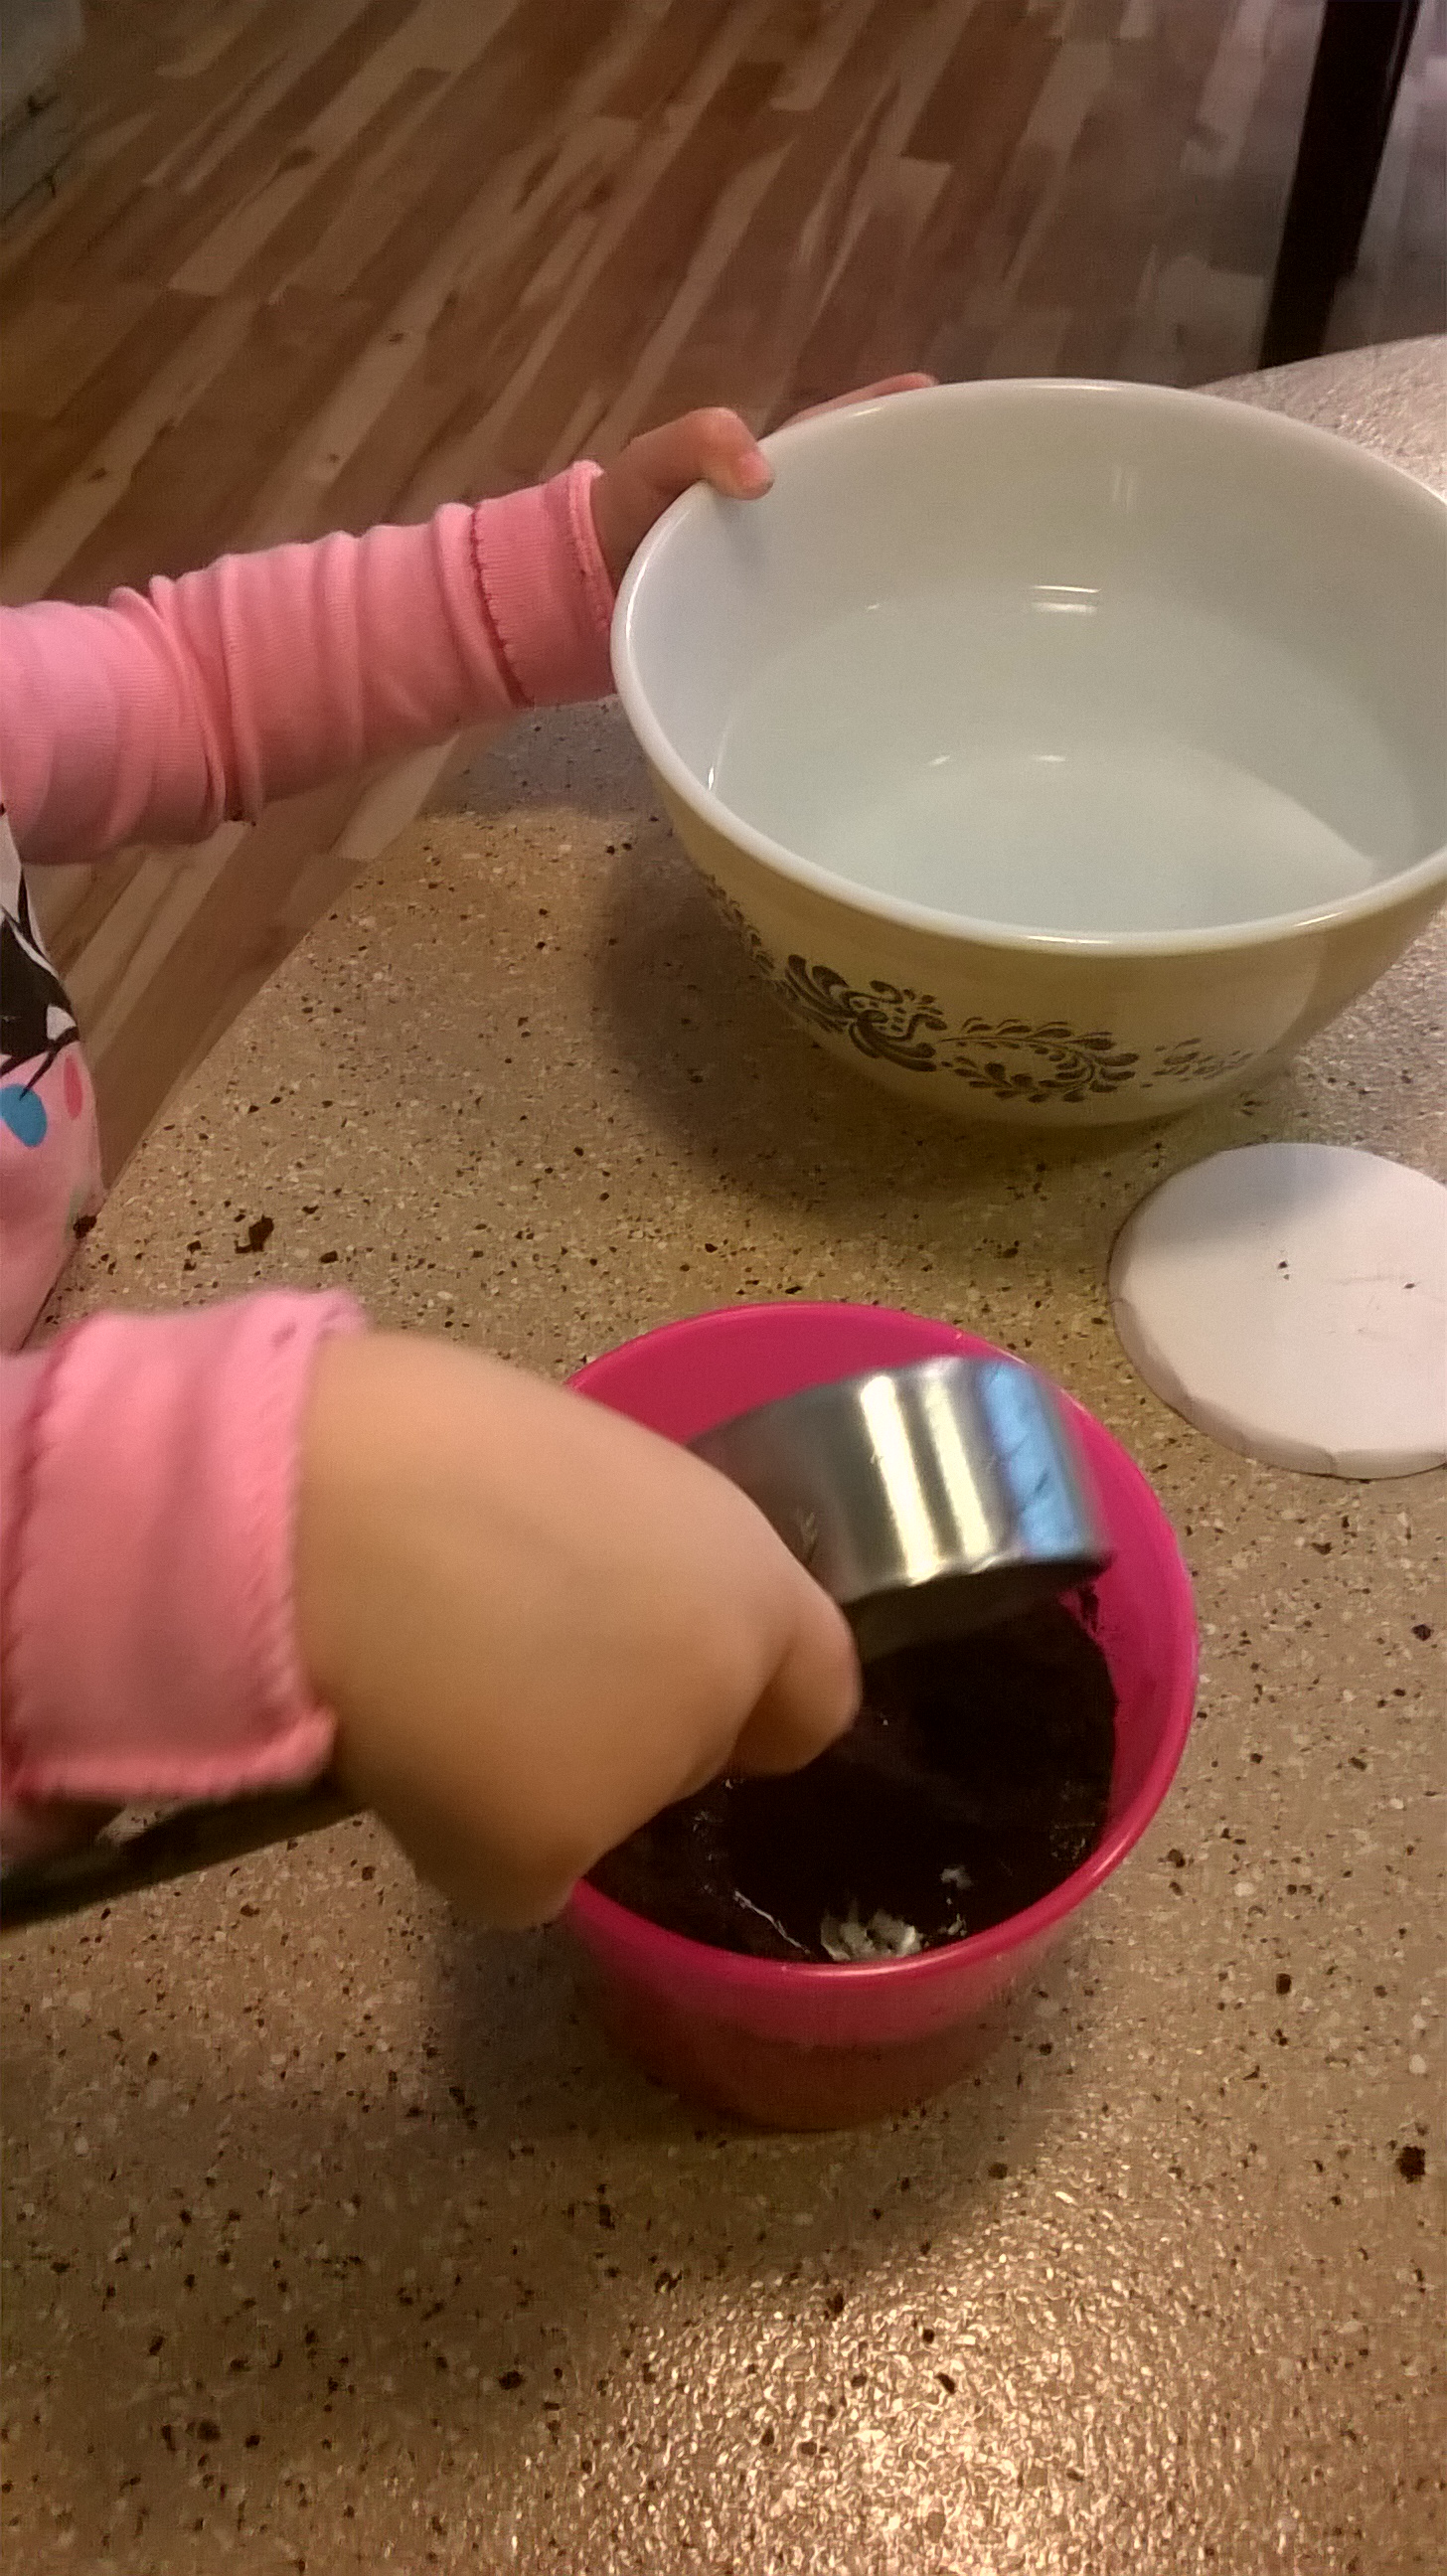
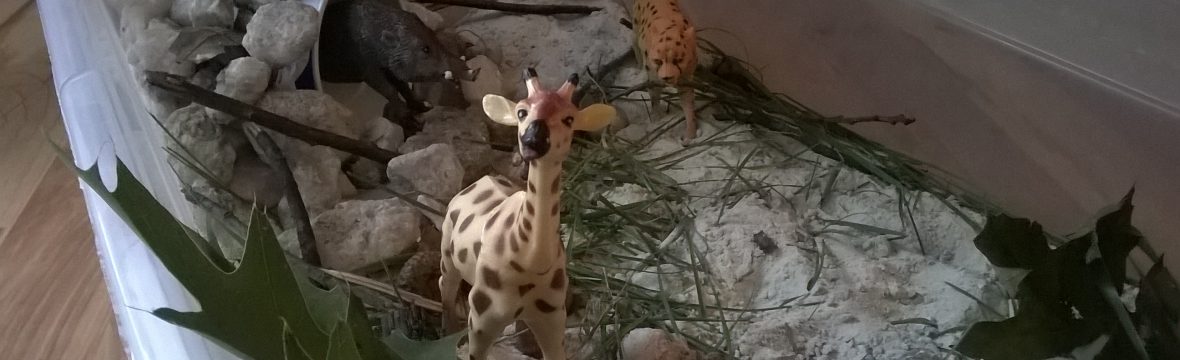
This recipe only uses shaving cream and baking soda. Mix those two things together and you will have yourself some DIY snow. Babs had a good time mixing the ingredients together in a large bin I had. Afterwards we used the snow to make our Penguin and Seal Playscape! I will be posting on that later.

If the consistency isn’t right add some more shaving cream or baking soda until you get that powdery snow like feel. Keep in mind all of the ingredients are at the Dollar Store!
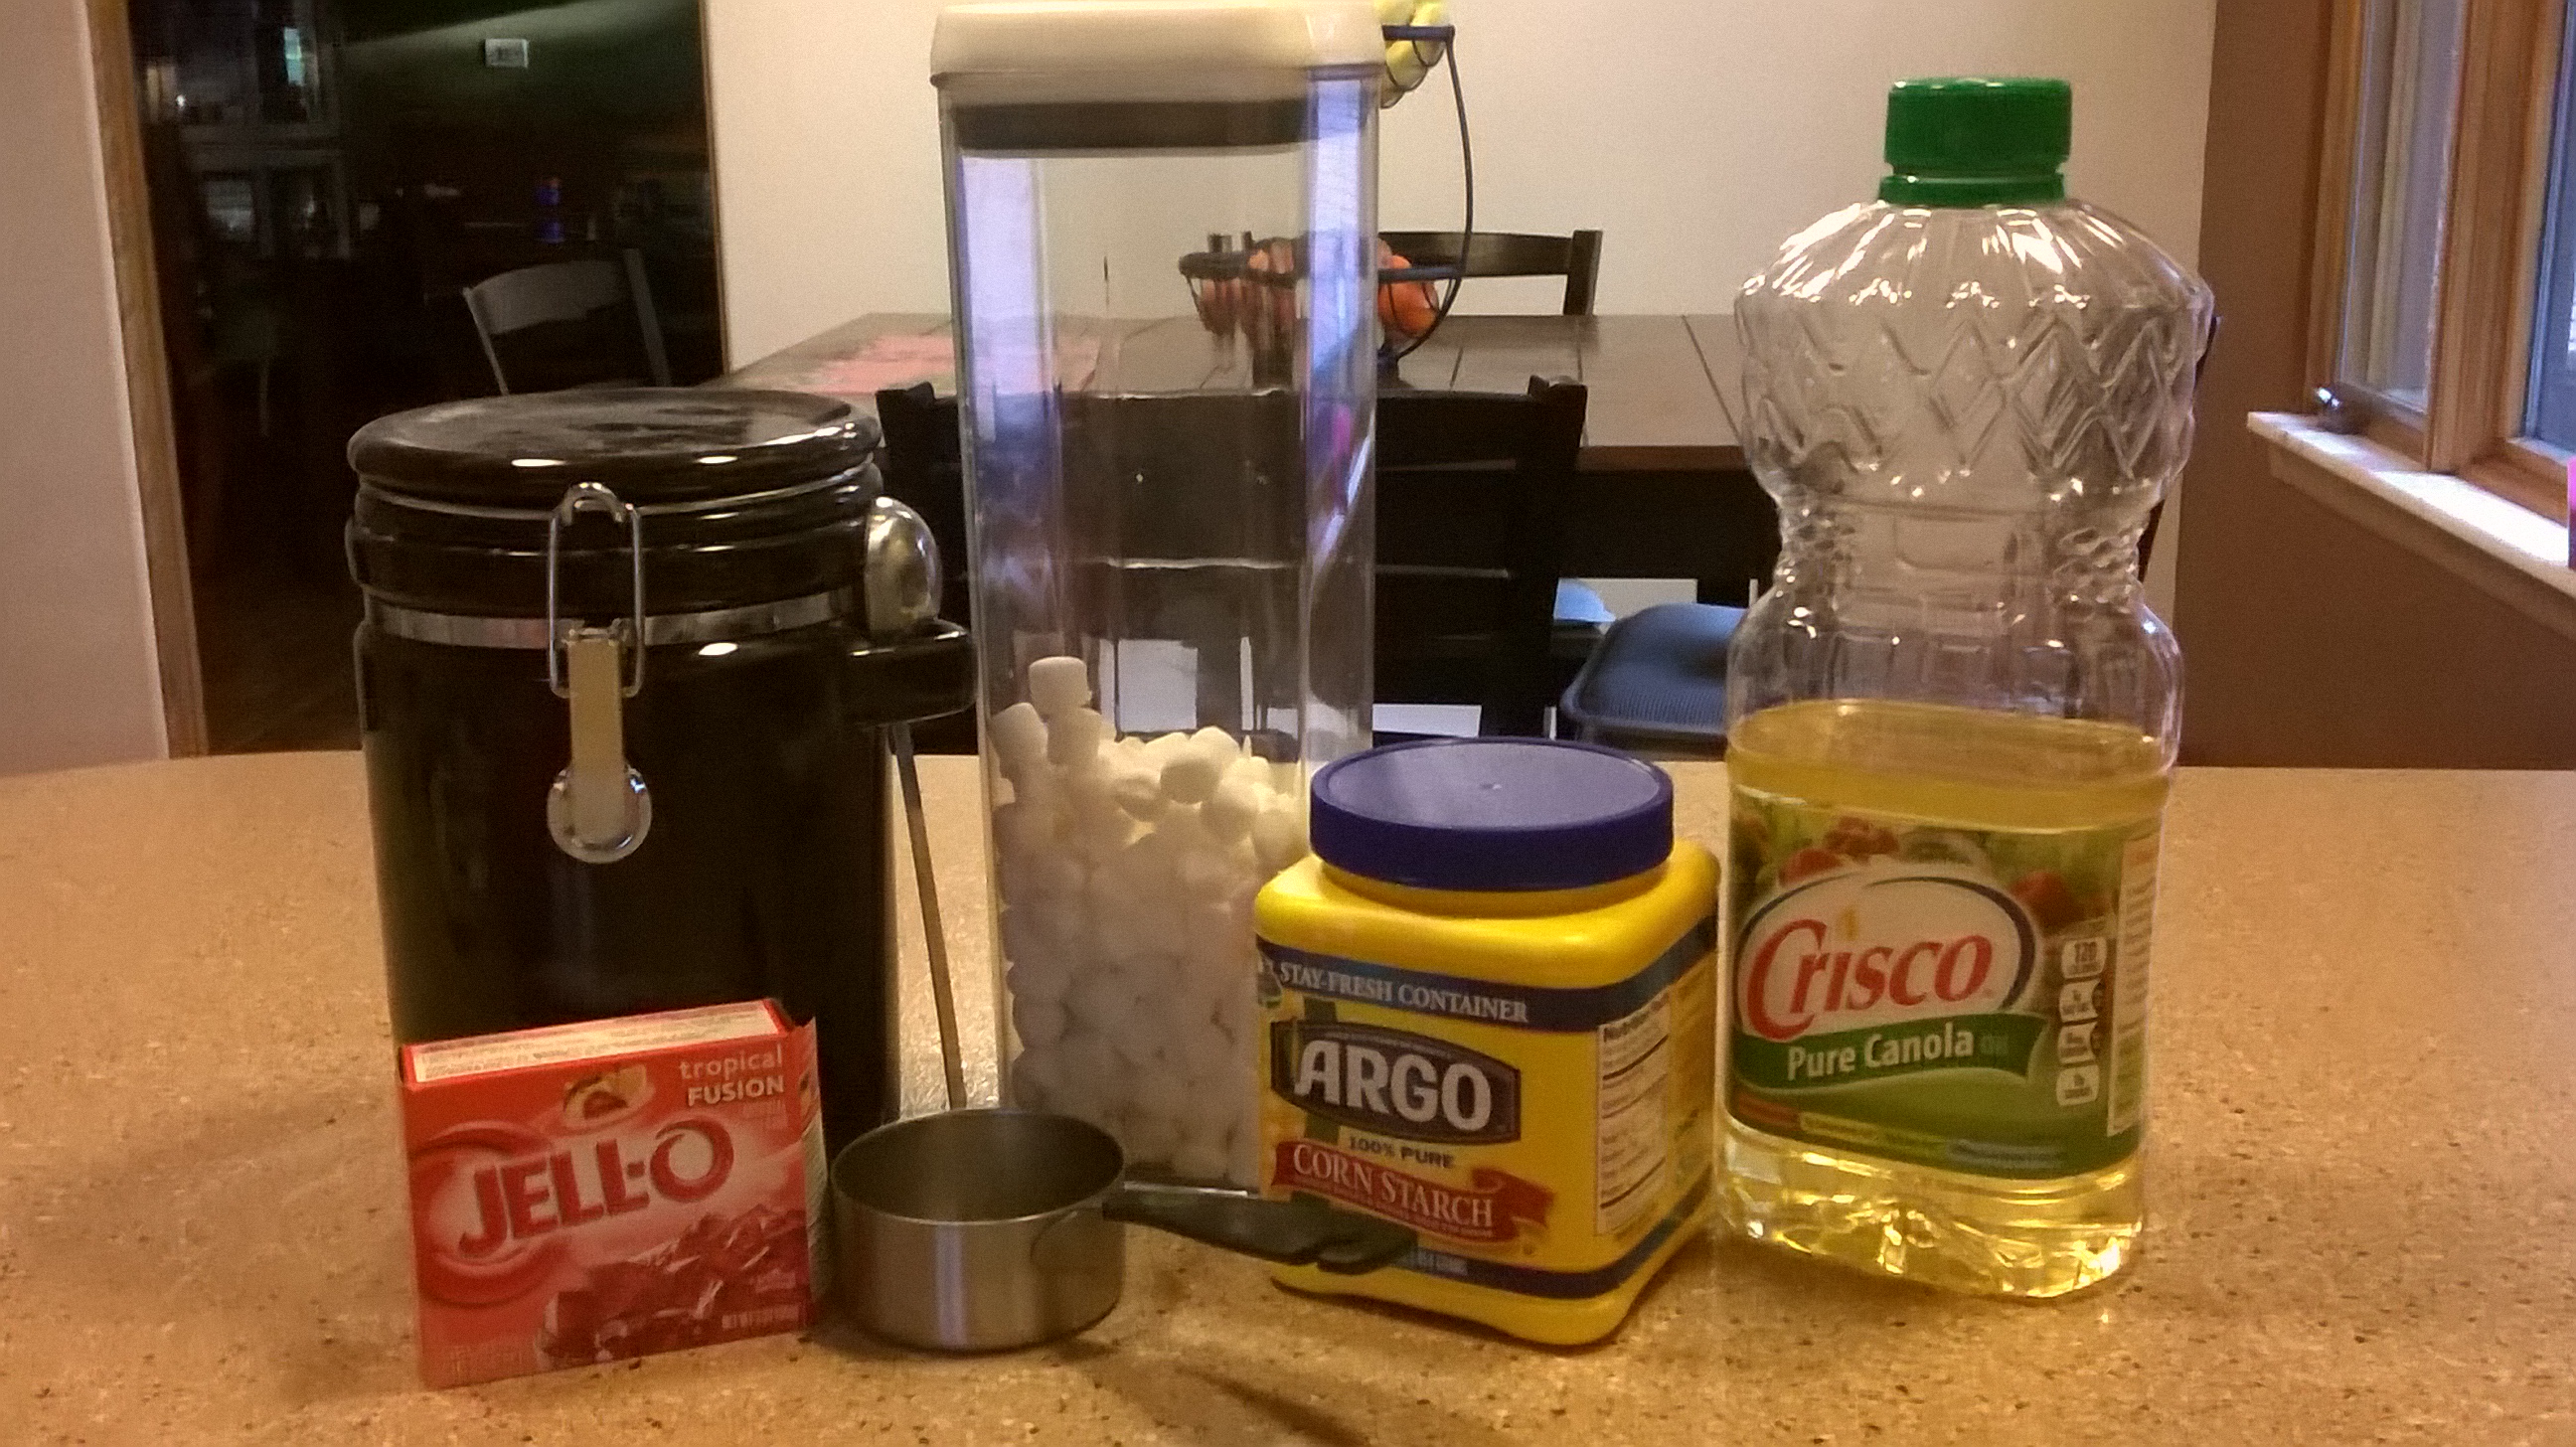
Materials Needed:

Shaving Cream: 3/4 of a regular size can

Baking soda: 1 regular sized box

Sensory Play

Lumpy Bumpy Sludge

Our sensory project this week is Lumpy Bumpy Sludge, or Eyeball sludge in honor of Halloween. 🙂 To do this sensory project you will need corn starch, canola oil, water, a package of Jello, flour, and mini marshmallows. I call this project sludge instead of slime because the Jello gives it more of a gritty feeling. It will also give this sensory project a good color and smell. I used tropical fusion Jello so it smelled wonderful! Babs even kept saying, “Yum Strawberries!” because it smelled so good!

WP_20151019_08_44_16_Pro

Some tips and tricks for those of you who have kids like mine that are hesitant to touch any of these gooey concoctions.  I usually give Babs some spoons and scoops to use while she explores for the first few minutes. After about five minutes I start to encourage her to touch the sludge with her hands. It helps her if I touch it too.

WP_20151019_09_52_40_Pro WP_20151019_09_52_33_Pro WP_20151019_09_59_17_Pro

I have included the recipe for Lumpy Bumpy Sludge below. I have the measurement of marshmallows that we used, however, you can add as many or as little of the mini marshmallows as you would like. It all depends on how lumpy and bumpy you want your sludge to be. You can even pull in some fine motor skills into this sensory play project by encouraging your child to use their thumb and index finger to pinch and pick up the marshmallows. The sludge makes them slippery so it is more of a challenge.WP_20151019_10_18_36_Pro

WP_20151019_10_14_37_Pro

Materials Needed

Mix the following ingredients in together in a bowl. Add the flour slowly and the marshmallows last.

Corn starch 1/4 cup

Water- 1 1/2 cups

Canola Oil- 1/3 cup

Flour- 1 1/3 cup

Mini Marshmallows- 3/4 cup

Jello- 3oz package

Sensory Play

Mold and Melt Goo

Mold and melt goo was a new sensory experience for Babs. She wasn’t to sure about it because it starts off hard and it was a little difficult for her to get out of the bowl. I ended up giving her a spoon and helping her scoop it out with my hands. Once she had a piece in her hand and I showed her how it “melts” she thought it was pretty cool. As you can see in the pictures we spread out the sensory play table-cloth because this project is messy and there is no getting around it!

WP_20151012_11_22_30_Pro

All you need to complete this sensory play project is corn starch and water. The specific amount of corn starch and water you will need is listed in the materials needed section at the end of the post. This is not one of the sensory projects that we save all week. I will be making a fresh batch of it on Friday and adding a little color. To add color I would either replace the water with liquid water colors (I will post Friday how to make your own without spending a fortune 😉 ) or you could add a little powdered or liquid food coloring. Depending on how much of either type of food coloring you add you may have to adjust the amount of corn starch or water in the recipe. Hope you enjoy!

Materials Needed

Corn starch 2 1/2 cups

Water 3/4 cups

Sensory Play

Shaving Cream Shapes- $1 Sensory Activity

We all know toddlers learn through play, language, and different sensory experiences. Shaving cream shapes is an easy fun way to keep your toddler engaged while also working on shapes or letters. This activity only cost a dollar and for any of your into extreme couponing, you may even have some already in your stockpile! I remember doing this in elementary school at my desk. It was fun as a kid and it’s still fun as an adult!

WP_20151009_09_12_34_Pro WP_20151009_09_13_50_Pro

Babs can identify her shapes and we are working on drawing them. She can draw a circle and tries really hard to draw a triangle but it still needs some work 😉 It doesn’t matter where you child isWP_20151009_09_13_42_Pro they can still do this activity! If they already know their shapes, work on letters. If they are working on identify shapes then you draw the shapes and have them “erase the circle” (wipe it away with giant globs of shaving cream) etc. Before I started adding in the shapes to this sensory project I just gave Babs some time to explore and play with the shaving cream. She is curious and if she didn’t get it out of her system then she would never be interested in drawing shapes. You can see in the pictures that in the beginning the shaving cream is on a cookie sheet. I also purchased this from the Dollar Tree. I often use an average size cookie sheet as an art tray. During art projects it keeps the materials from rolling off the table. There are also times when, let’s be honest, I just don’t want the huge mess! We are all human and I know my limitations. Some days I just don’t have time for the mess. Today I didn’t care so I let her shaving cream the counter too! FYI-I hand wash the cookie sheet to keep it from becoming disfigured in the dishwasher. So bust out the Barbasol and have fun!WP_20151009_09_20_07_Pro

Materials Needed

shaving cream

cookie sheet (optional)

Flat hard surface such as a counter or table

science, Sensory Play

Bring Summer Inside!

I love fall and all the wonderful things that come along with it like apple cider, donuts, bonfires….but if you are anything like me I am still not ready for summer to be over. 😦 I could have handled hanging out at the beach for just one more weekend. Okay, that’s a lie, maybe two or three more weekends. 🙂  Babs isn’t ready for summer to be over either. We had such a great time this summer planting flowers and harvesting vegetables from the garden. She has a wonderful Aunt who bought her one of those potted plant grow kits they have for kids. You can get them in the clearance section or sometimes the Target dollar spot has them also. This turned out to be a great way to bring summer inside and continue some of those learning opportunities. Today we used a bowl and spoon to saturate the soil pellet included with the kit. Other times she has just stuck her hands right in the soil and water to break it up.

WP_20150928_11_27_46_ProWP_20150928_11_28_01_ProWP_20150928_11_28_45_Pro

We were able to focus on many different skills during this activity such as following directions, waiting, and independently scooping aWP_20150928_11_33_17_Prond pouring. This can also be a very language rich activity! We talked about how the soil feels and different sizes of seeds.

Planting a potted plant inside provided more opportunities for responsibility as well! Letting her do this independently did mWP_20150928_11_35_29_Proake a mess, however, then she was able to be involved in the clean up. Watering her new plant has also been added to the list of chores (or as well call them Toddler Tasks)… you know making her bed, cleaning up toys, and now watering her plant.

WP_20150928_11_40_24_Pro